Thursday, June 25, 2009

Cracker Whacker/ HooDoo

If you need a fun summer game that is great for all ages, this one is for you! We played this at a family reunion on my side of the family, and it was great. So great, in fact, that when we were asked to do an activity for the family reunion on my husband's side, we knew just the thing.

We called it "HooDoo" after driving to Bryce Canyon and learning about their "HooDoos", someone in the family said that they didn't want to get hit in the "HooDoo's" during our family reunion game! :) So, the name stuck. We were also calling it Cracker Whacker because it's fun to say. Whatever you call it, it's good old fashioned fun!

To start, all you need are saltine crackers thread with dental floss, and swimming noodles cut into 3rds (I think).


Everyone playing needs to tie a cracker (or safety pin) to their pants. Then on "go", everyone tries to break each other's crackers. You are still in the game as long as some part of the cracker is still on the dental floss. The winner is the one with the most cracker still remaining.

We divided the game into two groups. 10 and under and 10 and older, mostly because there were about 50 people there. The video clip below is of the 10 and under group. They had such a good time!

As a family, we played this on Family Home Evening and it worked, even with only four players! We played with two crackers instead of one to make the game longer. This will definitely be a favorite summer game for years to come!

Monday, June 22, 2009

Garden Inspiration

My Dad has an amazing garden this year. I pulled up their street and was greeted by beautiful, green rows of vegetables. They have peas, corn, different types of squash, soy beans, black beans, cherry tomatoes, large tomatoes, different varieties of pumpkins for the grandkids, brussel sprouts, onions, peppers, and zucchini. (I'm sure I am forgetting some!)

My Dad's wife, Georgie Ann, is one of the most ambitious women I have ever known. She will be canning most of what she doesn't use. She cans just about everything from salsa to fruit juice, and is always kind enough to share the bounty! They also have fruit trees in the backyard, so she is busy, busy during the harvesting season.


This little piece of land has become such a treasure to me. Before my Dad started taking care of this garden, it belonged to my Grandparents. (My Grandpa says he gets more compliments on it, now that my Dad is taking care of it! :) I learned many lessons in this garden while growing up, many of which I hope to pass on to my children.
Photobucket

I tried to label what he has growing here, but I think I did a poor job. I think what I labeled as beans is actually peppers, now that I look at it. Oh, well. You get the idea. It is so attractive without a weed in sight, which is a testament to my Dad's dedication.


A little slice of heaven.

What a Couple of Weeks Can Do

It's amazing the growth from my garden in just a matter of about 2 weeks!

Wednesday, June 17, 2009

Father's Day Ideas

Father's Day is coming up this Sunday, and I love all the little craft blogs that have amazing ideas on ways to celebrate. Here are a couple of the ideas I loved:
My Step-Mom suggested a great idea for my Dad. She said that every Father's Day Sunday, the LDS ward that they live in hands out mini breads to all of the father's. Since they will be out of town this weekend, my dad was a little bummed that he wouldn't be getting the bread, so my sister and I are each making a couple of different kinds. I made Pumpkin Chocolate Chip and Lemon PoppySeed. (They were box mixes...I won't tell if you won't!)

So, as I was looking for ideas on how to gift the bread, my friend over at My Muddled Mind posted a cute idea and I totally copied it! (See how I am...) Go check it out HERE.

I baked the bread in disposable mini-loaf pans (3x5 size) from Walmart. They were 5 for $1.50. Each box made 3 loaves of quick bread. (side note: Any of the boxed muffin mixes can be made into quick breads and usually have the recipe to do that on the back) Then, I made these little cards (should have made them smaller) and punched a hole at the top and bottom of the card.

Next I wrapped the bread in plastic wrap and then again in waxed paper and folded the top of the waxed paper.

Then I tied twine through the holes and around the bread to hold the waxed paper in place. I put them in a basket and I'm ready to go!

And...for the card! I saw this cute idea for an origami shirt and tie at AlphaMom. Her instructions were awesome and it was a breeze to make. In fact, I made three!

I hope you have a great Father's Day! I will be out of town this weekend starting tomorrow, so I'll have more posts ready for you on Monday.

Tuesday, June 16, 2009

For Baby

I had my eye on THIS bag for months. It was strategically placed at the top of my favorites list under "This Is The Diaper Bag I Want!". Then, I realized that we didn't have $175 just laying around for me to spend on a bag for diapers. It sounds silly now that it's written out like that, but I think I shed a couple of tears about it. I'm over it now, though. I've just made myself the cutest bag with accessories included!

There were a couple of easy tutorials that I used for the following. The first one is a diaper clutch. This is perfect for keeping one diaper and portable wipees together. I should have made the pattern a little larger so I could keep a couple of diapers in there at a time. It would be great to store in the car or for the times when you just want one diaper with the wipees and you don't want to take your entire diaper bag apart to find them. Find this tutorial HERE.


I found this wallet tutorial last weekend. Now that I've made it, I want to try again and make it perfect because I made a lot of mistakes and didn't follow the directions and did my own thing for most of it. Re-reading the directions, I was like, "Oh, that would have made sense, I should have done that." So...follow the instructions! If I make another one, I will use a snap instead of velcro. I would also put a little elastic piece in the middle to hold a pen. That would have been a cute easy thing. It would be nice to have a little zipper pocket in the back for change, too. (Man, I guess I need to make another one!) Anyway- That tutorial is HERE.


And I made this adorable diaper bag. But, I'm thinking of starting a little business on the side making all types of bags from these large diaper bags to scripture cases, etc. Leave a comment if you are interested in having one. I need feedback, so let me know what you think!
Photobucket

Here's everything together! I get so many compliments on it, and I love carrying something other than the bag I got from the hospital. No more coveting the Bumble Bags!
(ok, that's a lie...I would still love one of those...)

Cute as a Cupcake!

Photobucket
We made cupcakes tonight. The ones you bake in an ice cream cone. They were delicious! You should try it!

Monday, June 15, 2009

Gardening Posts

Training Up the Peas

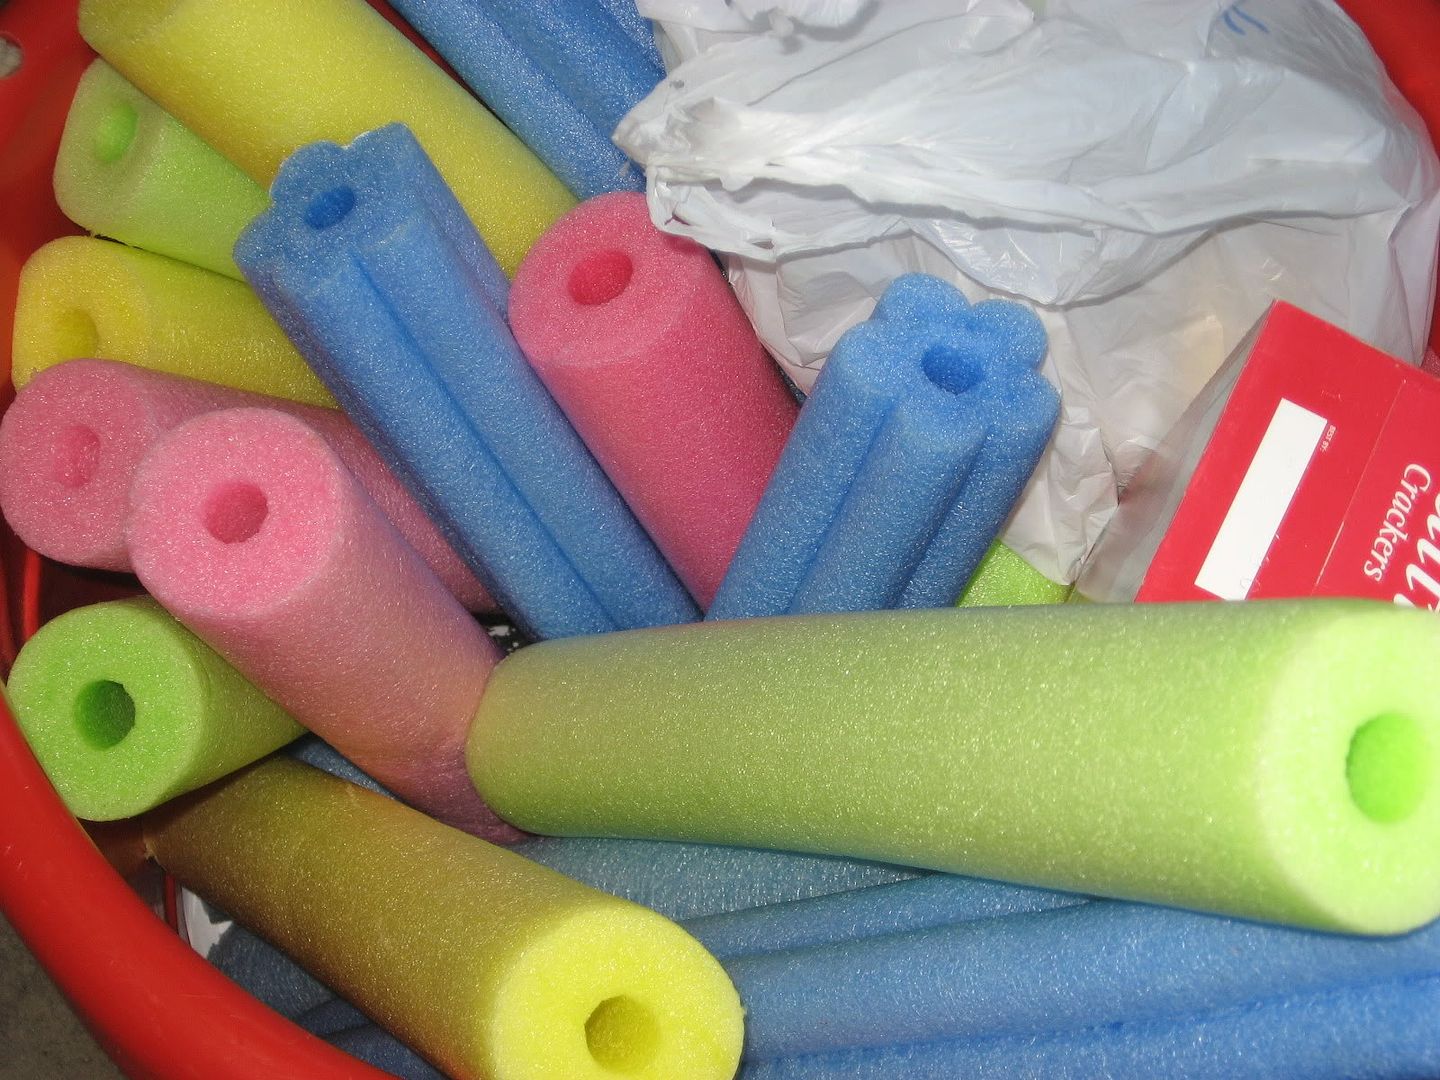
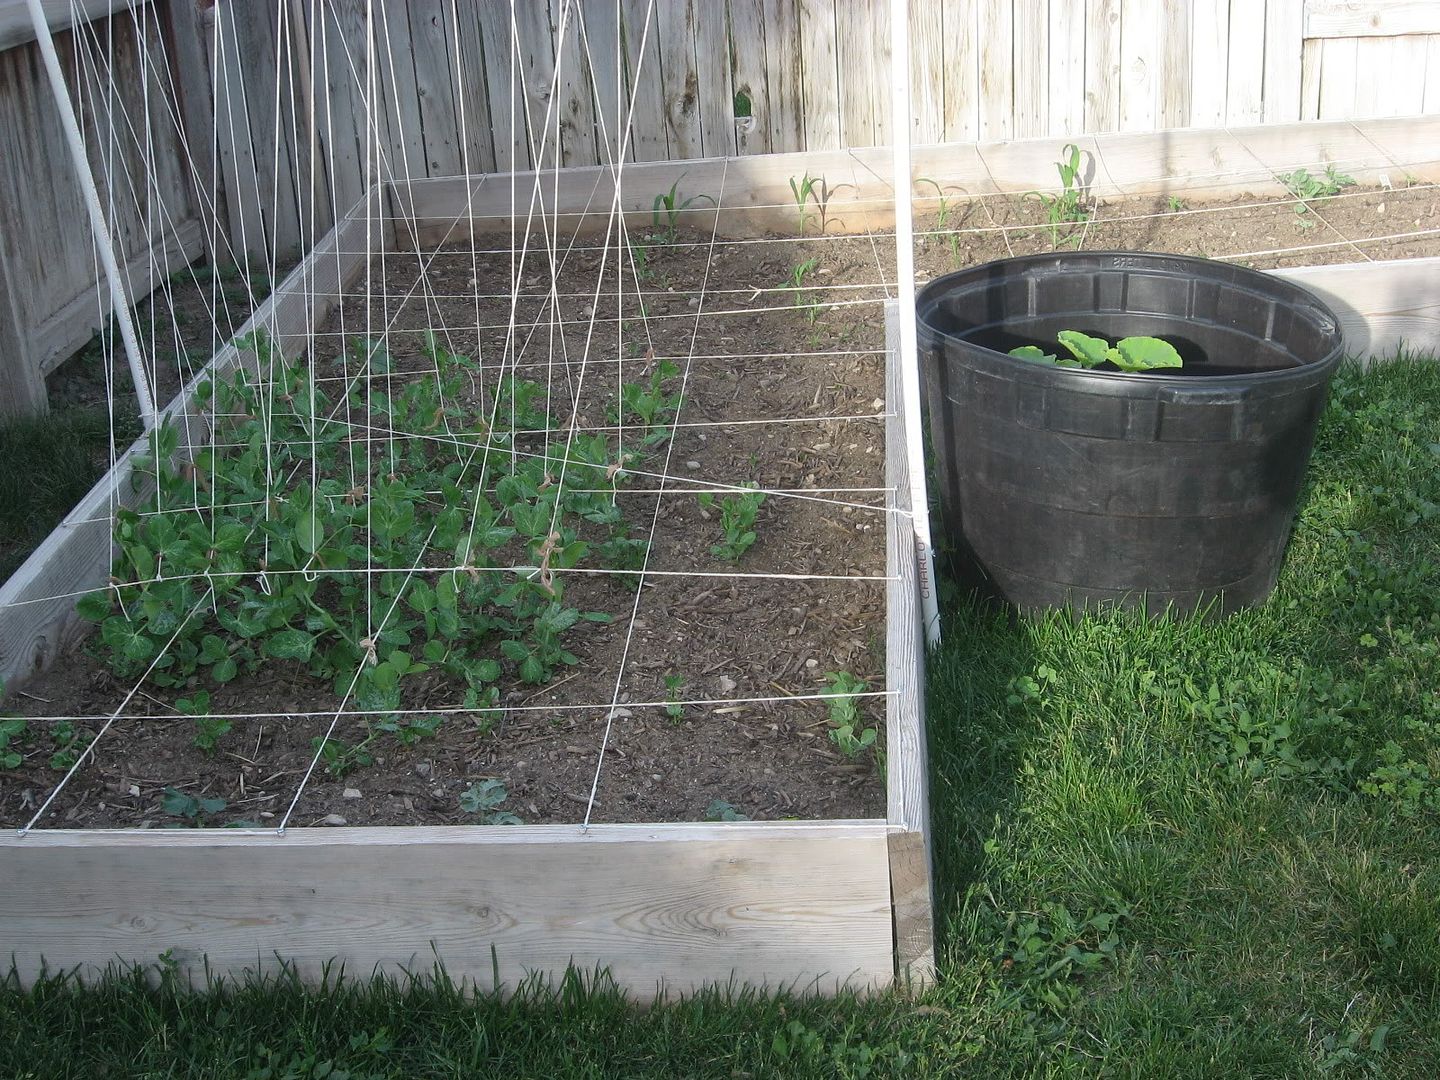
There are so many possibilities for building vertical frames to use in your garden. This is really the only thing that I have personally tried--mainly because it seemed like the easiest way. We built this last year and it is holding up extremely well, but if I were to make something again I would use metal or steel. Possibly some sort of strong wood would work also, but there is always the worry of the wood splitting. The plastic is working well for us now, though. We'll see how many years we can get out of it.

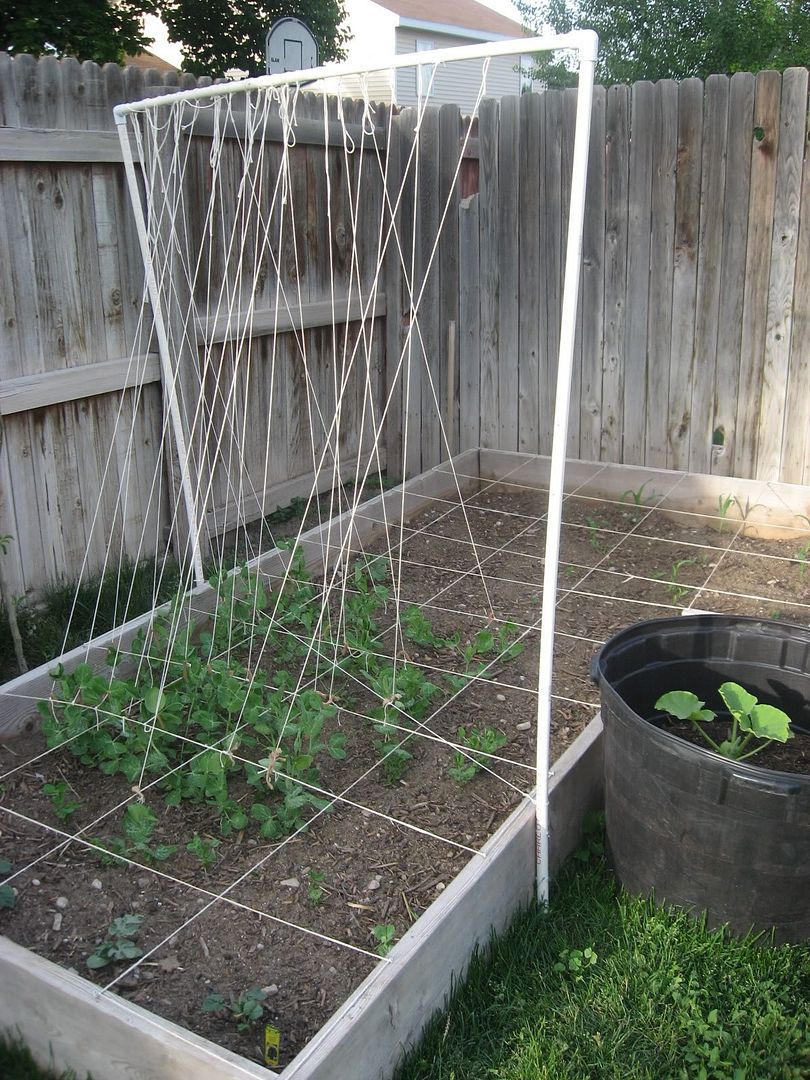
All you need to build this for your garden is PVC pipe, found at your local hardware store. We used three long leg pieces (the sides are about 6 1/2' and the top is about 4 1/2') and two elbow pieces for the sides. We hammered each side into the dirt on opposite sides of the garden box. Because it's plastic, and very lightweight, we were able to move the frame to the other side of the garden this year so that we could rotate plants.


Photobucket
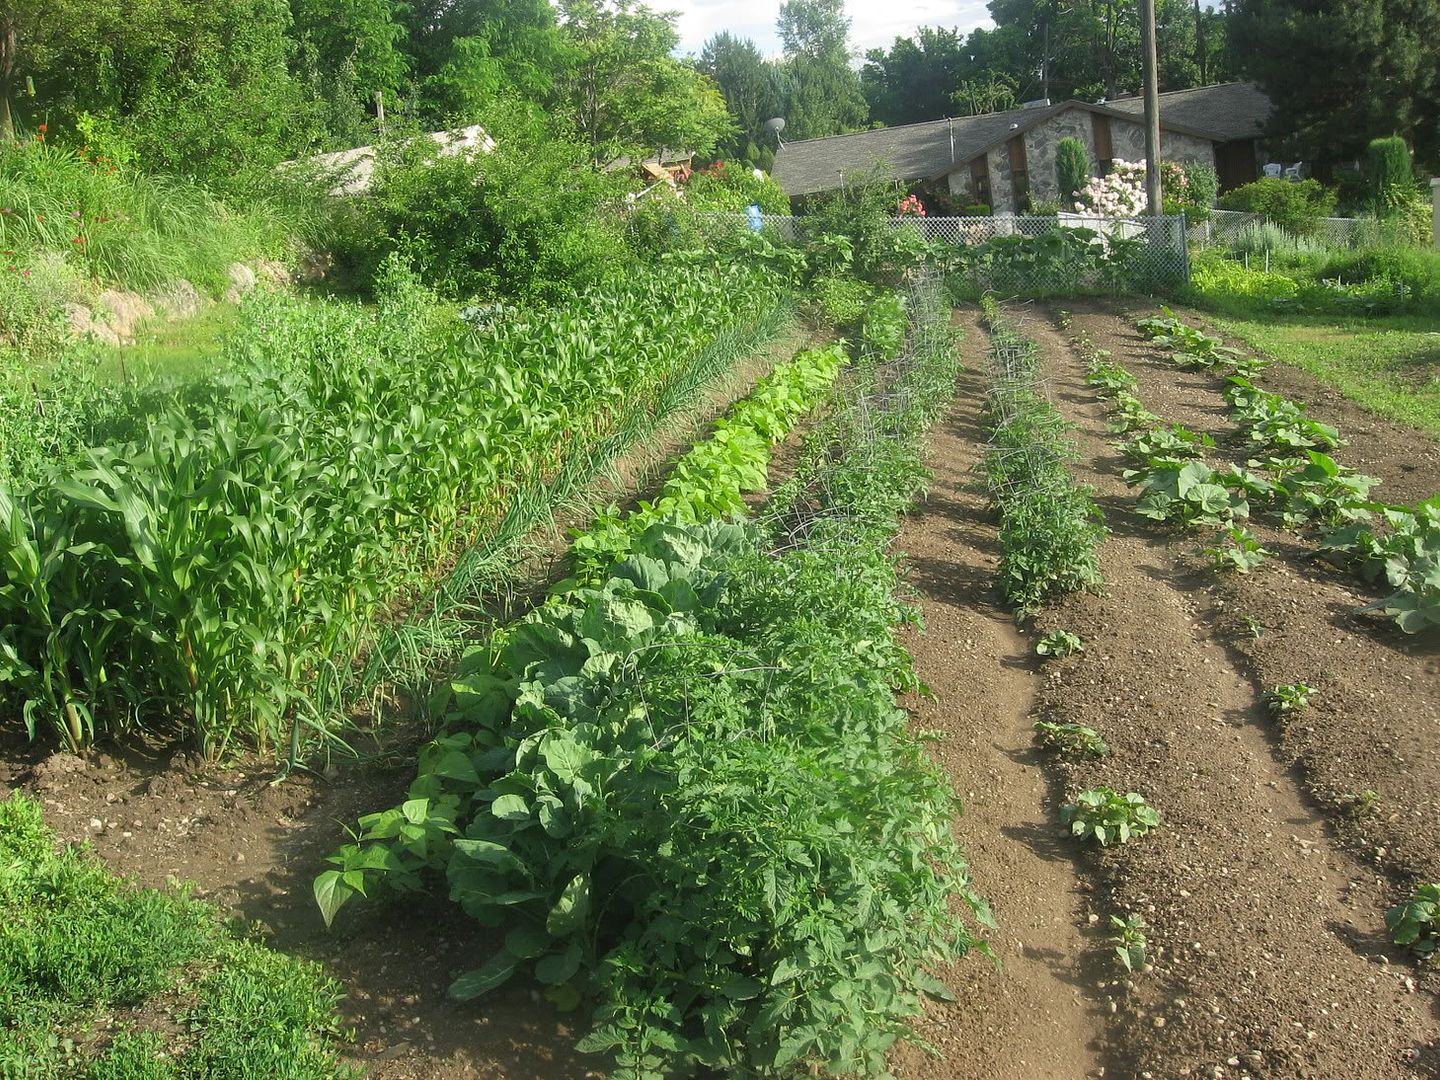
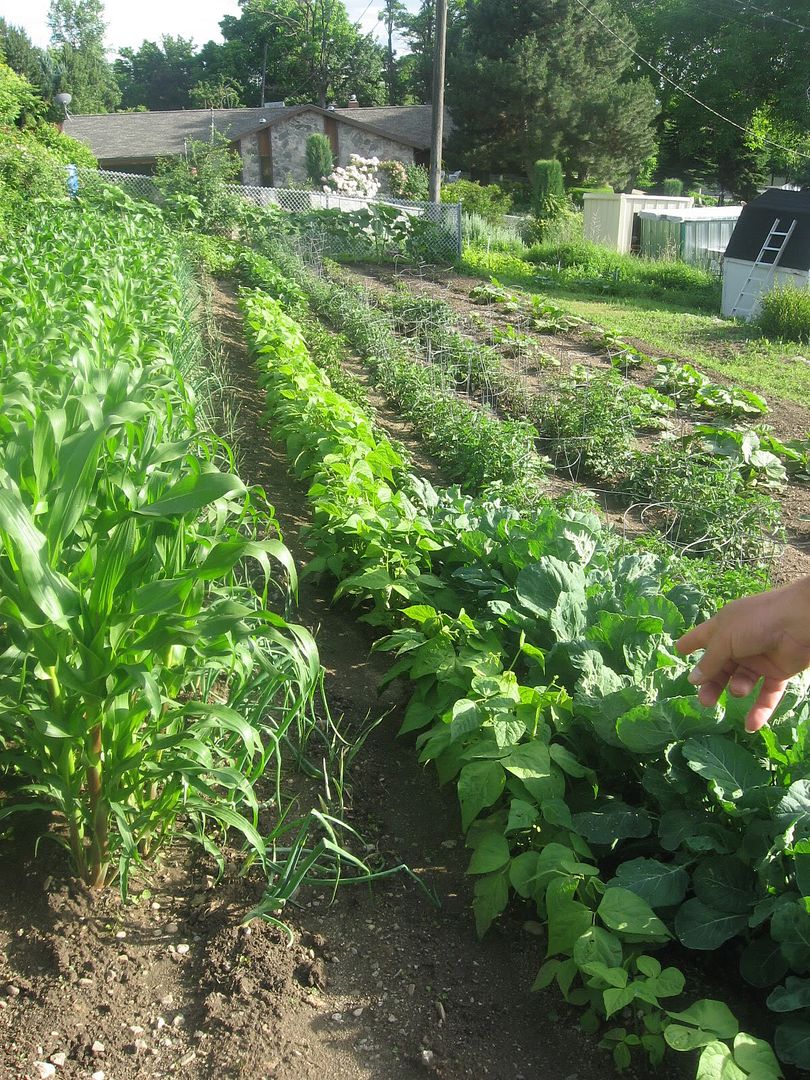
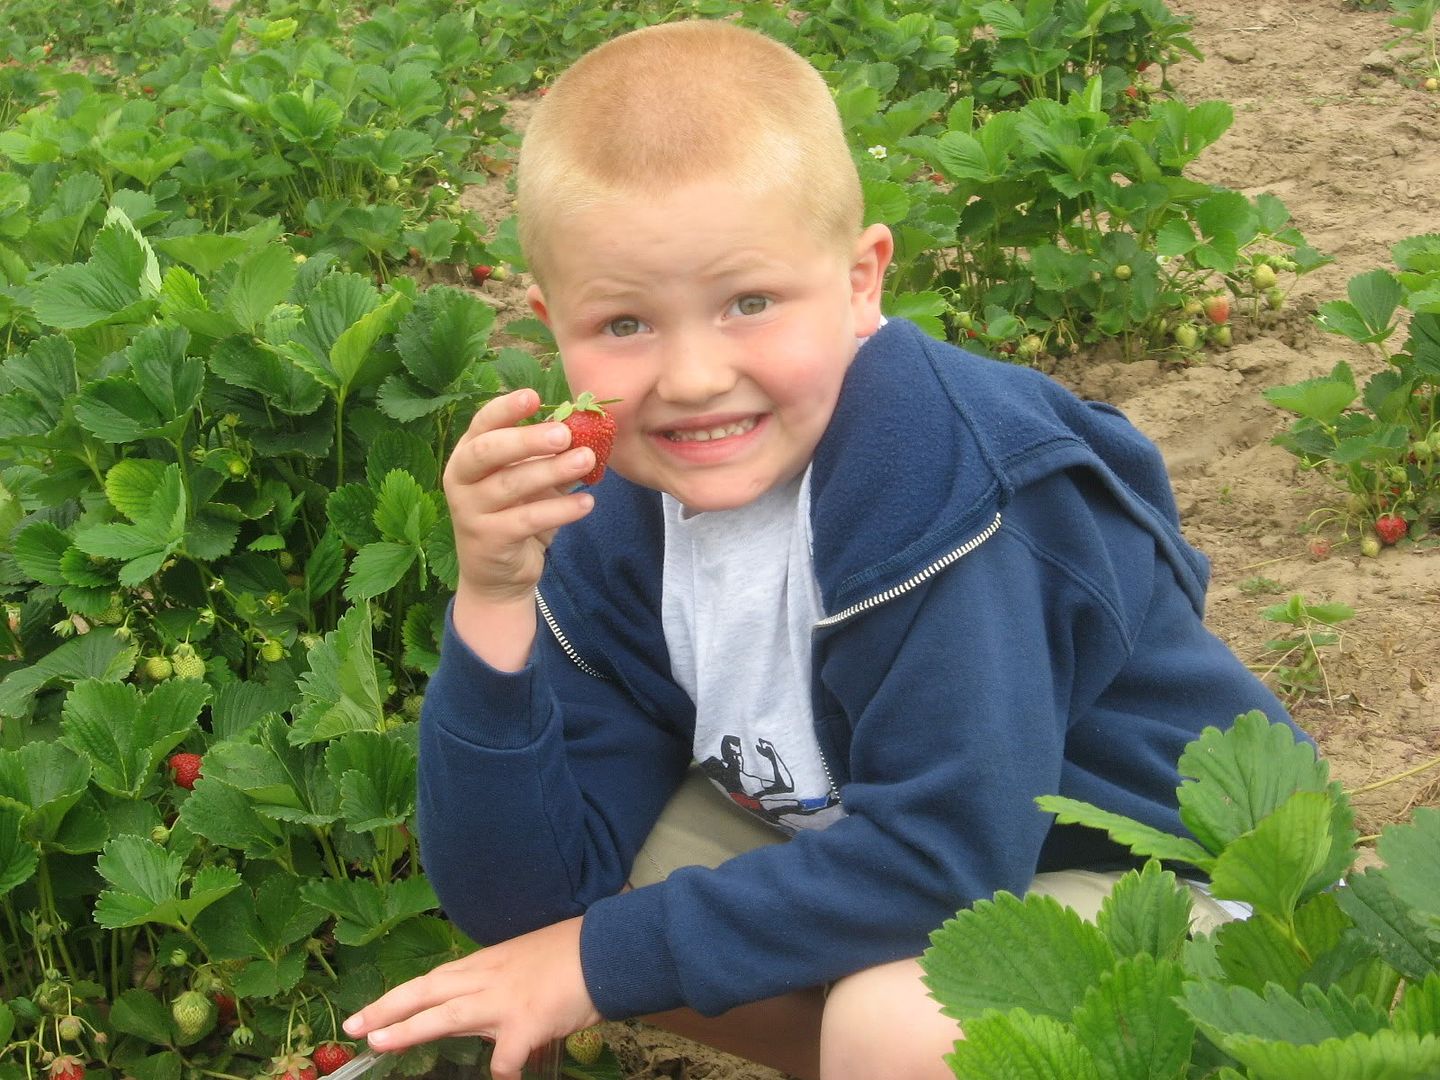
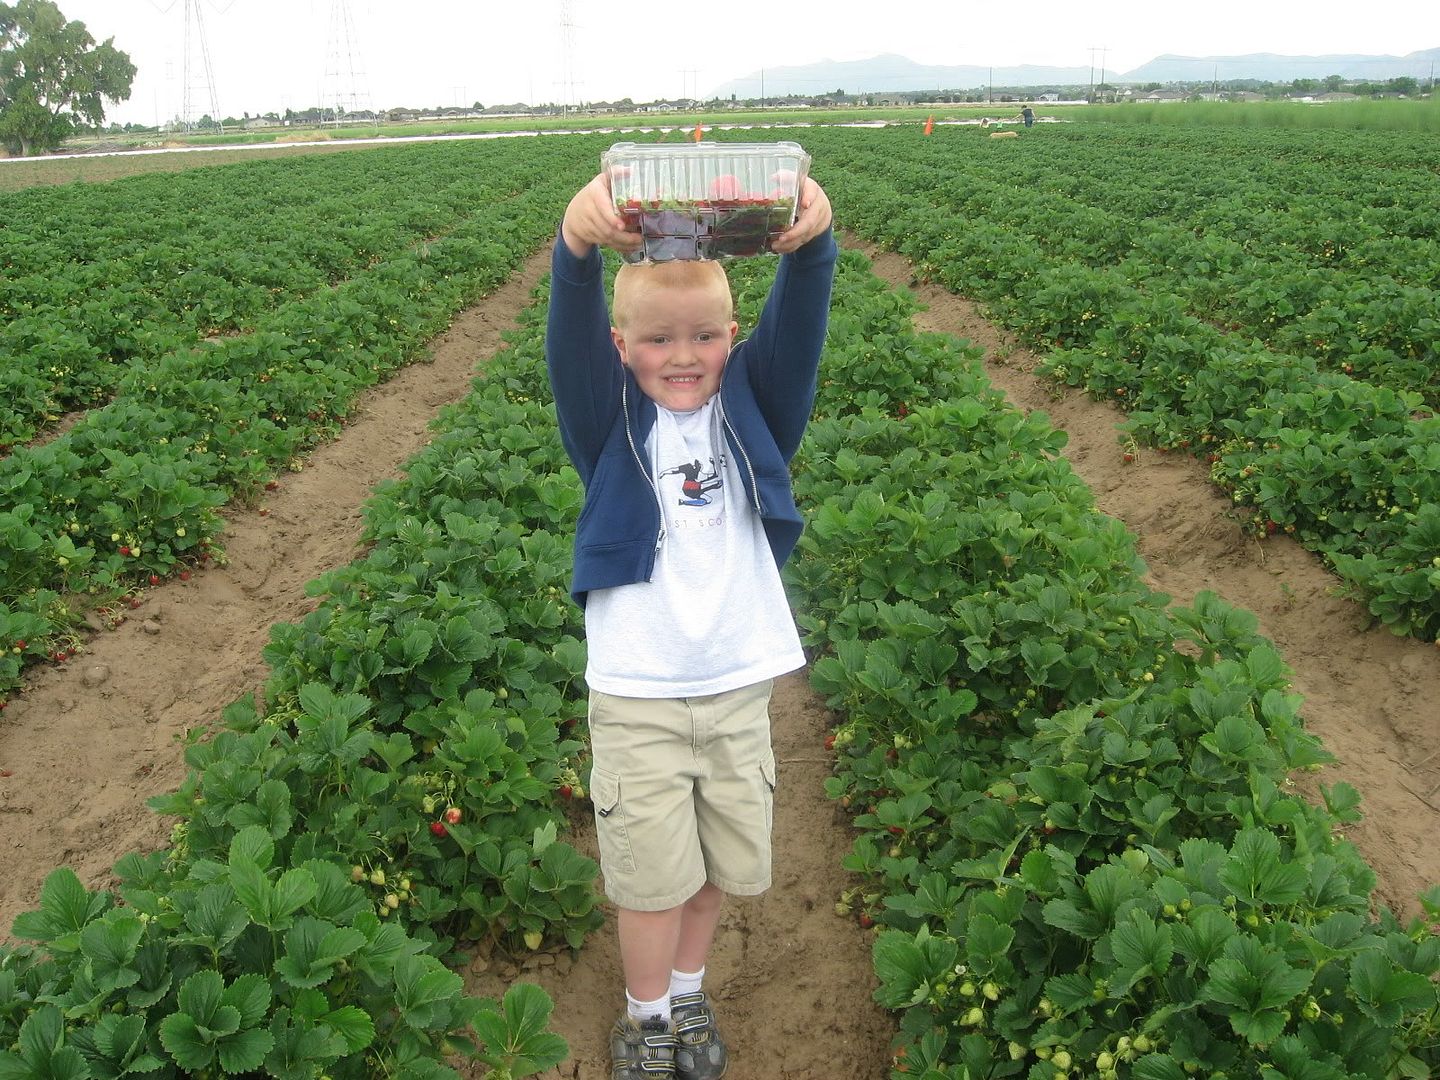
These pictures were taken on June 4
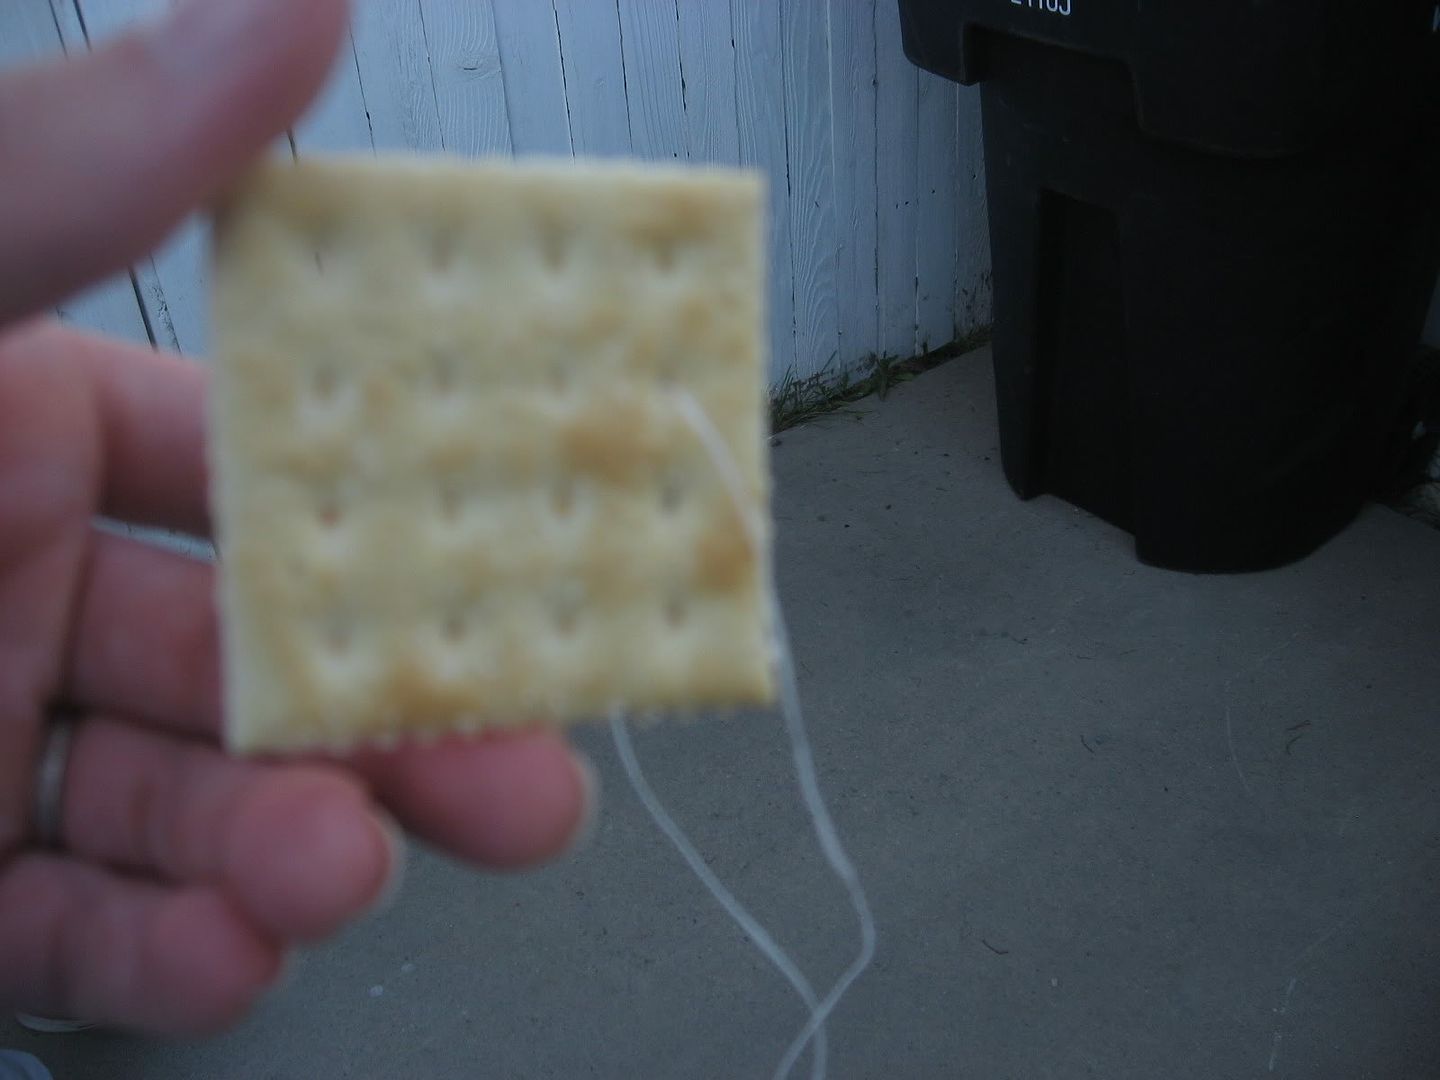
th of this year, and already I need new pictures of my garden. With all of this rain we've been having, I am finding that my garden is flourishing more than ever. These are peas that have been trained up the frame using a heavy string. You can tell when the peas are ready to be tied up to the frame by the cute little tendrils they get on the ends of the vines. They curl up and attach to anything they can get to, so I actually don't have to tie all of them up. They do the job for me, for the most part! The ones I did tie to the string, I just cut up some old nylons into strips and tied a loose knot. (you can buy knee highs at Walmart for 25 cents)

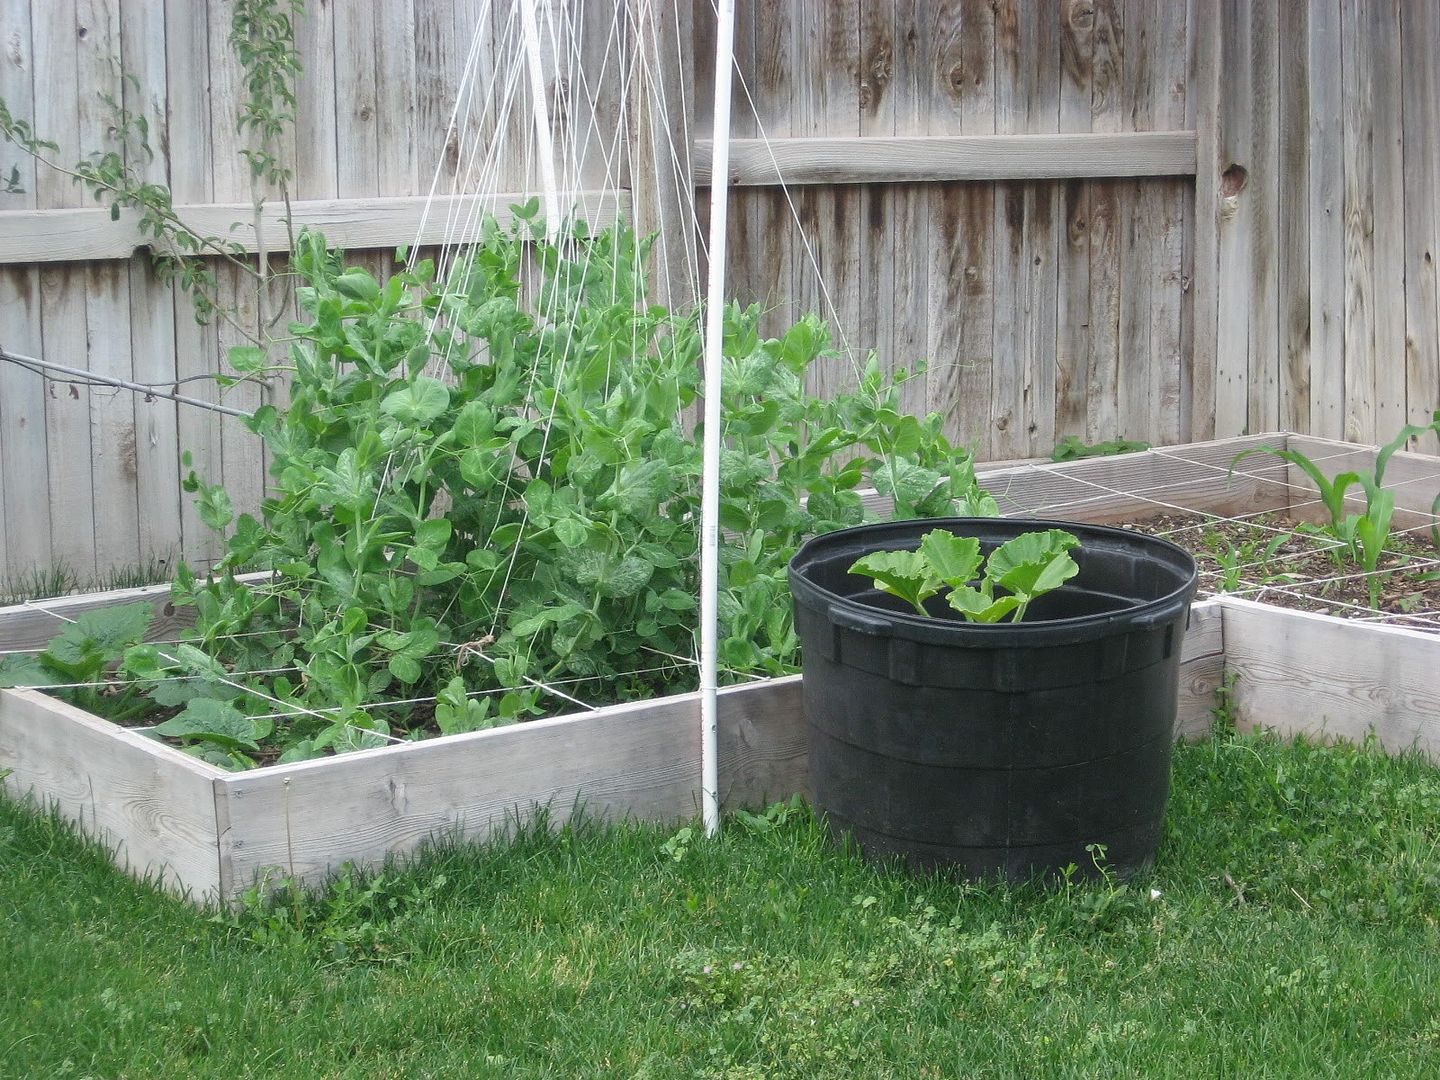
You would not believe how tall they've grown since I tied them! They are half way up the string now, and there are about 8 extra pea plants that have sprouted. (I love the late sprouters!)

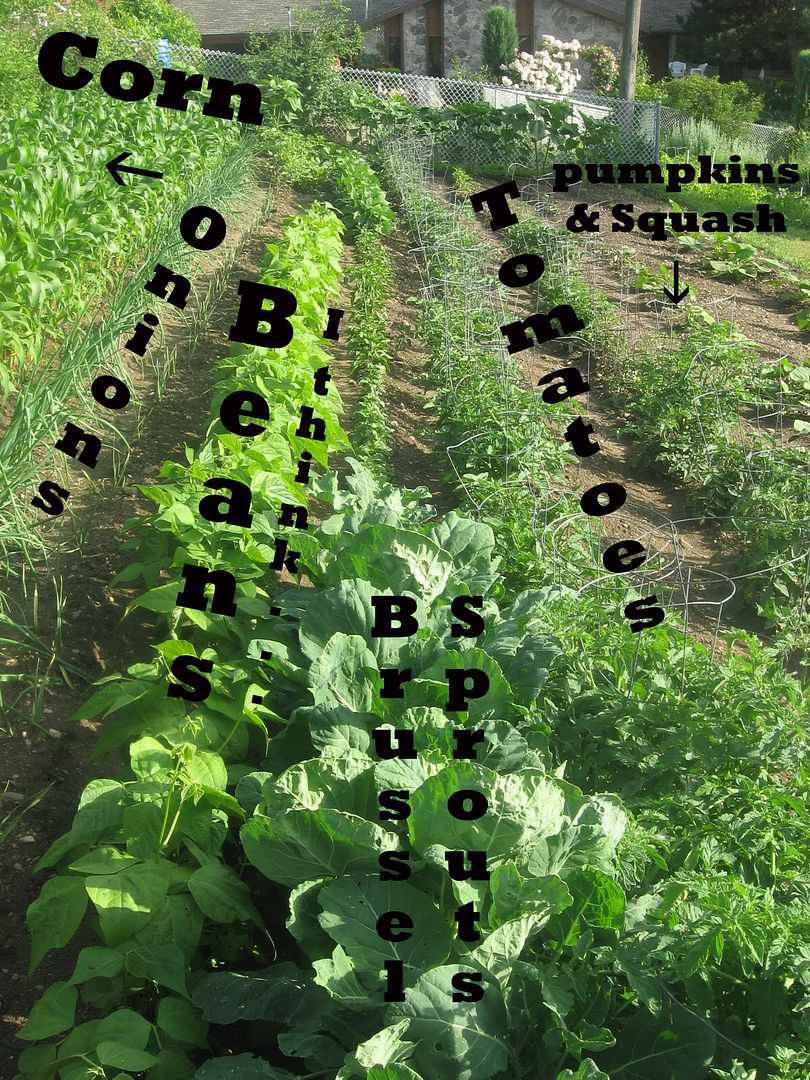
My Dad has an amazing garden, and all he did for his peas was put two trellises on either side of the row of peas and they kind of just make their way up the trellis. I will try that one day, for sure!

For me, this will work because my cucumber plants are close enough to be trained up the same frame next to the peas. Last year I trained my green beans up with the peas, and that worked great!

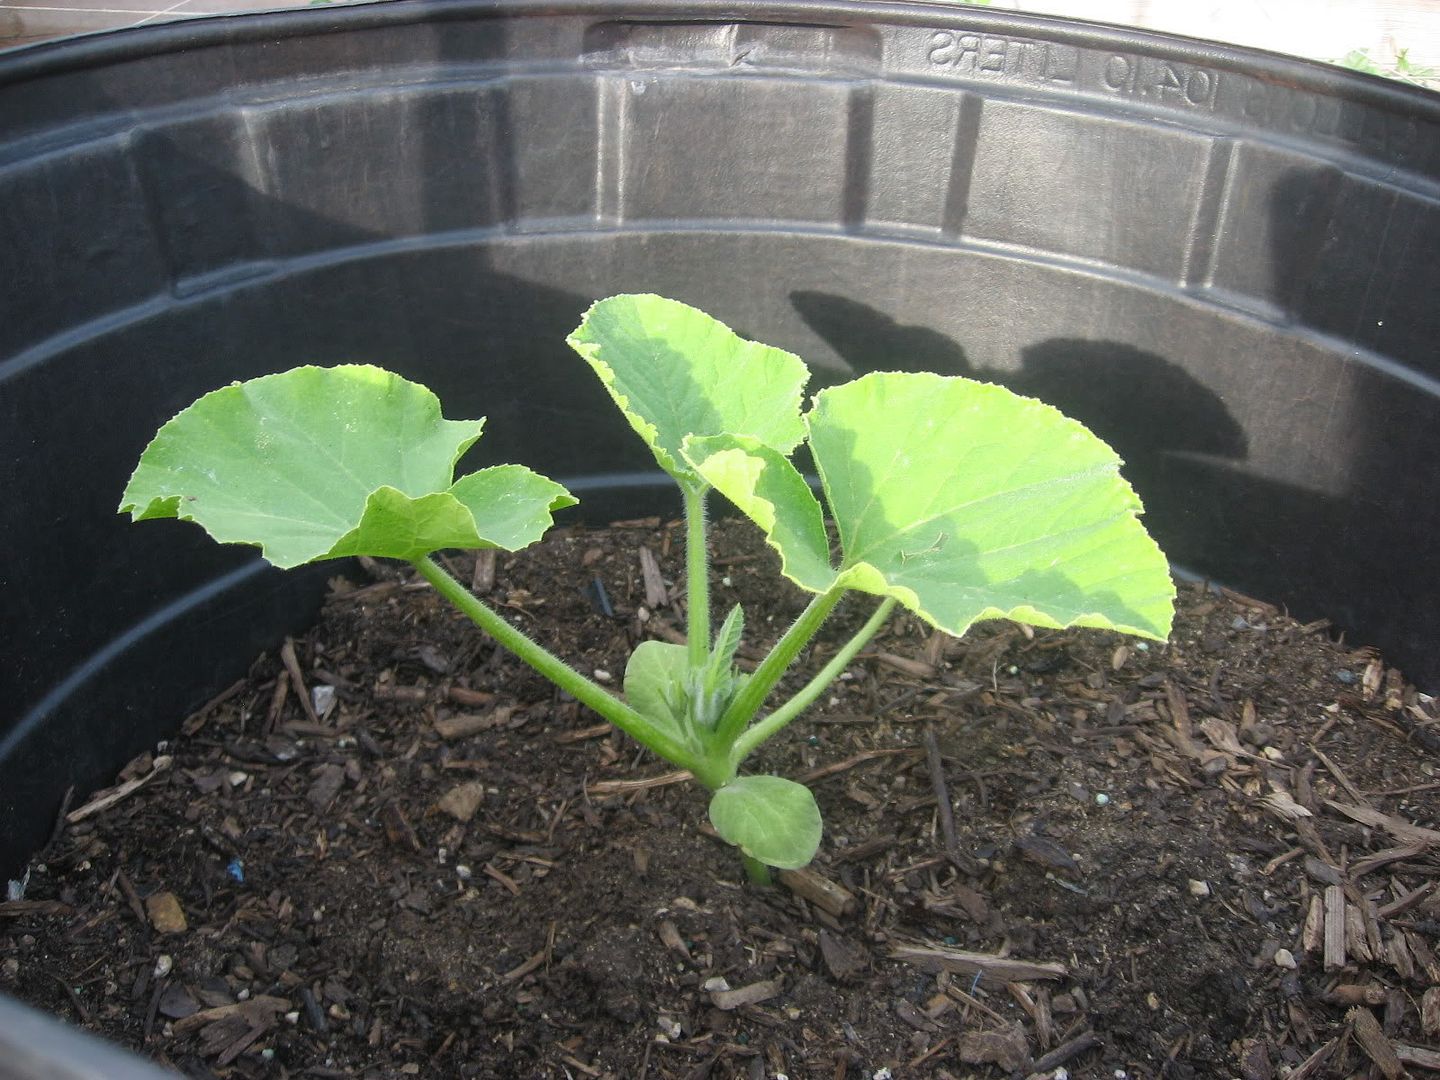
As a side note, my giant Dill's Atlantic Giant Pumpkin plant is doing amazingly well. I tried last year with little success. It has always been my dream to grow giant pumpkins for everyone to admire on Halloween. Someday... Anyway, I had some advice from some seasoned farmers. They said to place rotting matter into the base of the soil before planting the seedling. I put about 3 rotting bananas in, and have since stuck a couple of bananas in the soil next to the plant about every other week. It is growing so much better than last year!

My aunt also told me that she would pour about half a cup of milk in the soil every other week, and her pumpkins grew well doing that. I think I'll try that as well.

I'll take more pictures of my garden and post them soon!

Friday, June 12, 2009

Yummy Strawberry Dessert

This recipe is so yummy and perfect for your next barbecue.
Go HERE to get it!

Strawberry Daiquiri

My husband and I went on a fun little cruise last year along the California coast and in to Mexico; just the two of us. I had such a great time! We were gone 4 days, went to some fun places, went snorkeling in Catalina, bartering in Ensenada, boogie boarding in San Diego, and drank our fair share of virgin strawberry daiquiris. I seriously came home craving them.

I fooled around with a couple of ideas on how to make a virgin strawberry daiquiri, and I think I have a pretty good recipe goin' on. It's really sweet, but it suits my taste buds! If it is too sweet for you, you can add fresh strawberries with a little bit of sugar instead of the jam. I've done that before, as well. I really just play around with this recipe every time I make it.

Here you go:
Ingredients:
  • 1/2 cup strawberry freezer jam
  • 6-8 ice cubes
  • 1/8 cup lime juice
  • 1/4 cup pineapple juice (optional)
Mix all ingredients in a blender. Add more jam to make it sweeter, more pineapple juice or lime juice if it's too thick or you can add a little bit of water.

It's yummy enough to make me feel like I'm back on Catalina Island every time I take a sip. Enjoy!

Wednesday, June 10, 2009

Strawberry Recipes

Today I found THIS site that has tons of easy strawberry recipes for you to enjoy!

Tuesday, June 9, 2009

Strawberry Honey Butter

This recipe is seriously so good! And, like most of my recipes--super easy! You take a stick of butter at room temperature, add about 1/2 cup of that yummy strawberry freezer jam (I have also used raspberry jam) and whip with a mixer until blended. (Look at the picture to the right-- It should look like this. If it is runny, add more butter, if it is too thick, add a little more jam. You can't mess this up!)


Then, if you'd like, add a tablespoon or two of honey. (It's good without it, as well) That's it! Now go slather those homemade rolls with some of this sweet butter and enjoy! It is also fantastic on scones. Heck, it would probably even be good on cardboard. It's that good!

Monday, June 8, 2009

Strawberry Angel Food cake filling

On many special occasions, this is the dessert of choice in my husbands' family! It's so simple. Take an angel food cake, whipping cream or cool whip and some strawberry freezer jam. Mix equal parts of strawberry jam and whipping cream together.


Cut the angel food cake in half and add filling to the inside.


Then, put the top back on the cake and frost the outside of the cake with the filling. Drizzle with strawberry jam and add strawberries to the top. This makes a great summer dish that is so tasty and pretty, too!

Strawberry Freezer Jam

When I married my husband, I realized that one of the items on the dinner table every Sunday was homemade strawberry jam. The jam HAD to be on the table and family members would point out when it wasn't there. It was almost more important than the salt and pepper, really. I didn't grow up having homemade jam, so it wasn't special to me--until I tasted it. Can I just say- There is nothing like homemade strawberry freezer jam. And, do you want to know the best part? It's so easy! I made 5 batches of jam today in under 2 hours. Amazing!

Here are the ingredients in the picture to the left. Strawberries (about 2 pounds per batch), sugar, lemon juice, and Pectin. (I prefer the "liquid pectin") Some people use a blender to chop the strawberries, and that is great if you have a powerful blender. I don't, so I use a mini-food processor that cost about $7 at Walmart.


Here's my mini-food processor, below. Cut the stems off the strawberries, and then cut the strawberries in half. Blend the strawberries to your liking. Some like chunks of berries, others like it completely blended. I'm a completely blended type of girl. Measure out 2 cups of the blended berries. I just keep adding the crushed berries from the processor little by little until I have enough for one batch. *Only do one batch at a time, or it won't work--trust me, I've tried before!*


Mix the 2 cups of strawberries with 4 cups of sugar. (I know, it's a lot! Why do you think it's so good?!) Let it stand for about 10 minutes, then add two Tablespoons of lemon juice and one package of pectin. Stir for three minutes. Then, pour into individual containers.


I made 5 batches of jam and came out with 7 containers full. I used about 9 pounds of strawberries, so the recipe ended up taking a little more than 2 pounds of strawberries per batch. Refrigerate the jam until set, then freeze for up to 1 year.

Friday, June 5, 2009

Stwah-Bewwies

Strawberry season is here! (or as my two year old calls them, "Stwah-Bewwies") I found this great little website last year called "PICK YOUR OWN" that lists all the local farmer's markets and produce stands in different areas in the country. It also lists the farms that have stands where you can "pick your own" produce. We found one in our area and went today with my brother and sister. It was a perfect day for it--overcast, not too sunny--not too cold. Perfect!


Here's my daughter and my sister picking some luscious strawberries. Mmm. (on the left)
(On the right) My brother, sister, and two oldest kids enjoying the garden.
Right off the vine, they are divine!


Do you think he was loving this? He was a little bit too excited!

We so enjoyed our time there. They had areas marked off with orange flags to tell us where the ripe strawberries were, which was awesome! We had just missed their asparagus cutting--dang it! They gave us a calendar as we left that had all of the dates their other produce would be ready to harvest. It was a great afternoon. I wish we could have spent more time here, it was so beautiful! I have a feeling we will be here A LOT this year.

So, next week I'm going to call "Strawberry Week". I will show you how I make strawberry freezer jam and feature other strawberry recipes. I will also give you ideas of how to use your strawberry jam. It's not just for peanut butter sandwiches any more, folks!