Friday, May 29, 2009

Word Games

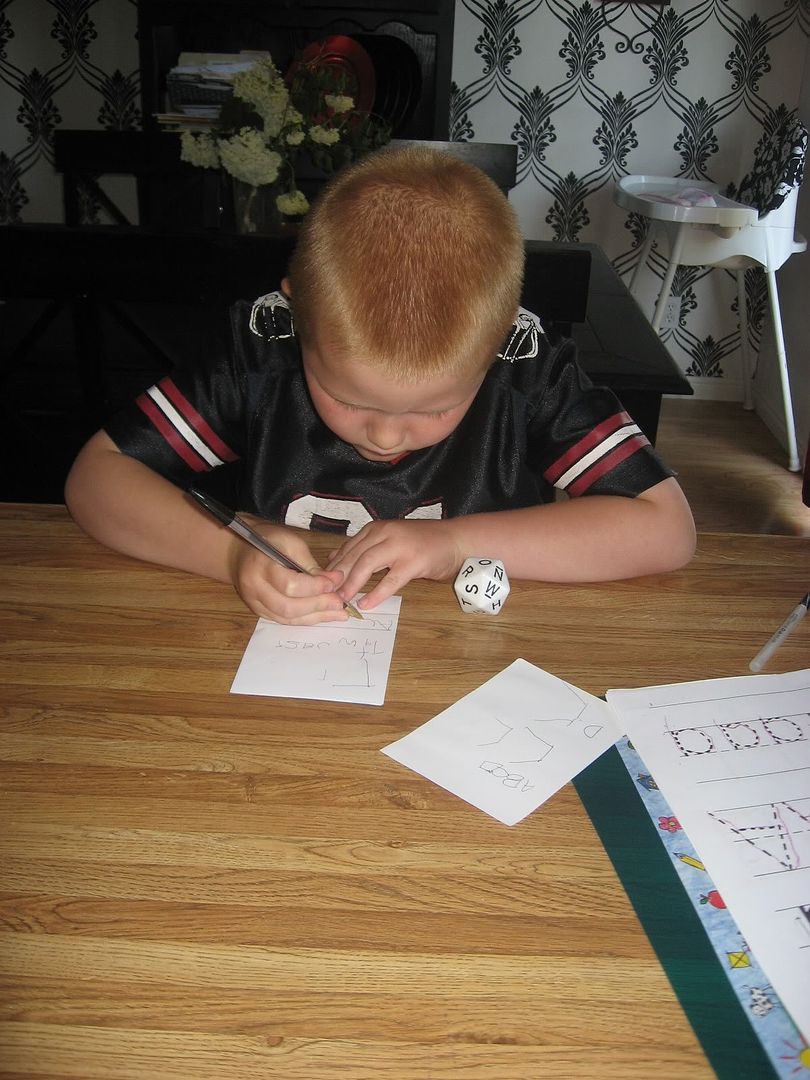
One of Hayden's "chores" for the day is to practice his handwriting. I looked for a few ways to make this fun for him and I came up with a few good ideas. The first idea came when we were playing one of my all time favorite games- "Scattergories". Inside the game there is a die with the letters of the alphabet on it. We have Hayden roll the die and whatever letter it lands on, he has to write that letter, lower case and upper case.

Before he was learning how to write, we used to roll it and have him say a word that started with that letter or say the letter sound. Before that, it was just used to identify what each letter was. What a wonderful little thing this has been. He actually looks forward to writing his letters!


Photobucket

Another idea, if you don't have the Scattergories die is to write all of the letters down on separate pieces of paper and put them inside a paper bag. Then have the child draw out a letter and do the same ideas as above.

To print the lined drawing paper that they use in school, I go to THIS site.

Thursday, May 28, 2009

My Daily Cleaning Schedule

When I started this stay at home mom stuff with my first child, I realized that I had so much time on my hands! I went from working 45 hours a week managing a clothing store, to being at home raising this cute little round ball of energy. I had so much time on my hands, in fact, that I really got nothing done. Are any of you like me? The more I have to do, the more I get done. The less I have to do, the lazier I am. We'll say that the cleaning and laundry got put on the back burner and I spent my time lounging about, going to every park in the city, long walks, and a nap everyday! (Now that was the life!)

So, like I said, nothing was getting done around the house and I realized that, "Oh, yeah...that's my job." The house doesn't clean itself, and dinner doesn't just appear. (Let me know if you find some way for those things to happen, though!)

I got down to business. I wrote down every chore that needed to be done every week. Then, I broke the chores up into manageable chunks that needed to be done daily, and to my amazement I still had time to lounge about and go to the park and my house was sparkly clean all of the time. (Ok, maybe not...but close!)

Do I follow the schedule exactly every day? No. But it helps me stay on top of my home so that I don't spend a huge chunk of time cleaning EVERYTHING at once. Although that does happen sometimes...

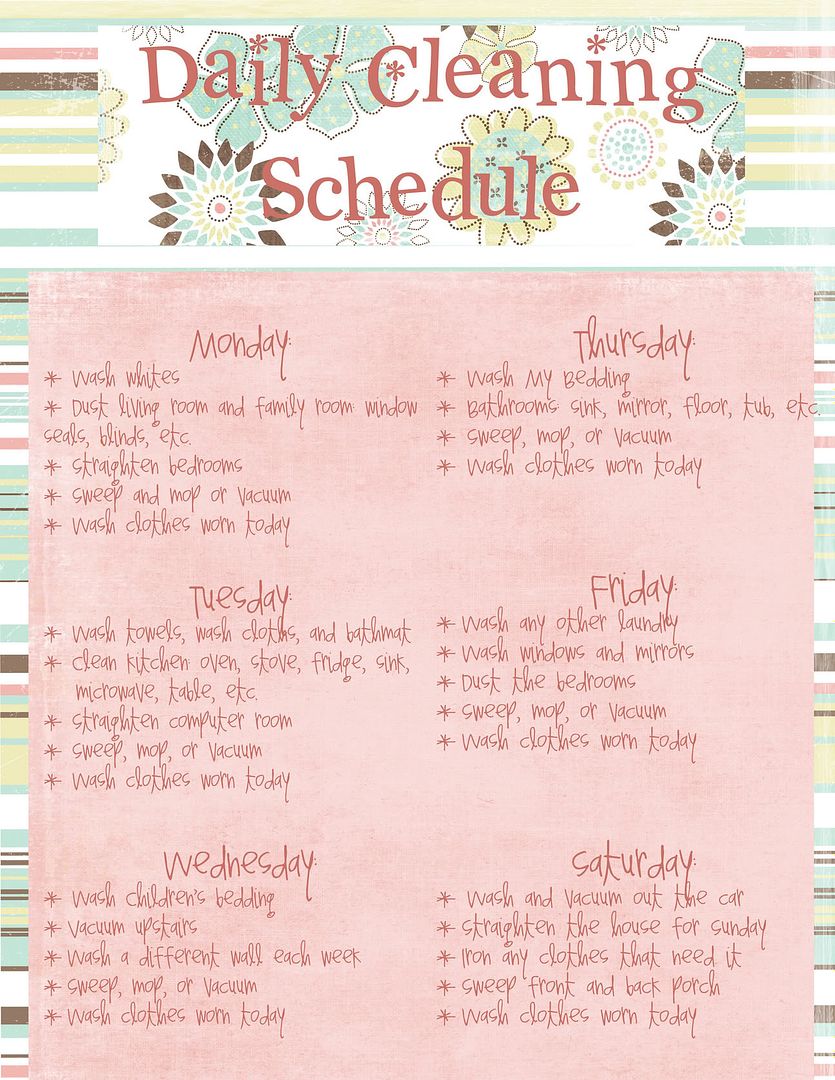
Here's the schedule:
Photobucket

Let me explain a few of the jobs. I make sure that I do at least two loads of laundry a day. It's the first thing I do in the morning--Put a load of laundry in the washing machine. It's also the last thing I do before bed. You'll notice that the last chore every day is "Wash clothes worn today". I take the PJ's from the night before and the clothes that every one wore that day and I wash them and put them in the dryer before bed. This has made it so much easier to stay on top of the laundry. Then, in the morning after I put a load in the washer, I take out the clothes from the dryer and fold them and put them away.

There are also things that I didn't list-obviously-because the list would be HUGE! I just figure that I know that I do the dishes every day and I clean up the play room every day. Things like that.

One tip that I learned from FLY LADY is to always go to bed with your sink sparkling and clear of any dishes. This habit, alone, helps me to start the day off right. Who wants to wake up to a sink full of dishes to be washed? Definitely not me!

Look over the list and feel free to copy it or make one of your own. This list has been one of my life savers, and now I hope it will benefit you!
Happy Cleaning!

Wednesday, May 27, 2009

Customized Candy Bar Wrappers

When Eric and I got married, we thought it would be so cute to make personalized favors to hand out at the reception. We wrapped mini Hershey's candy bars with our engagement picture and on the back of the candy bar it said,
"Here's some candy!
Love, Eric and Brandi
How cheesy is that?! We thought we were really funny back then! :)

So, anyway, I was thinking about those the other day and how easy and cute it would be to make them for different occasions and with different sizes of candy bars. I have started making a few.

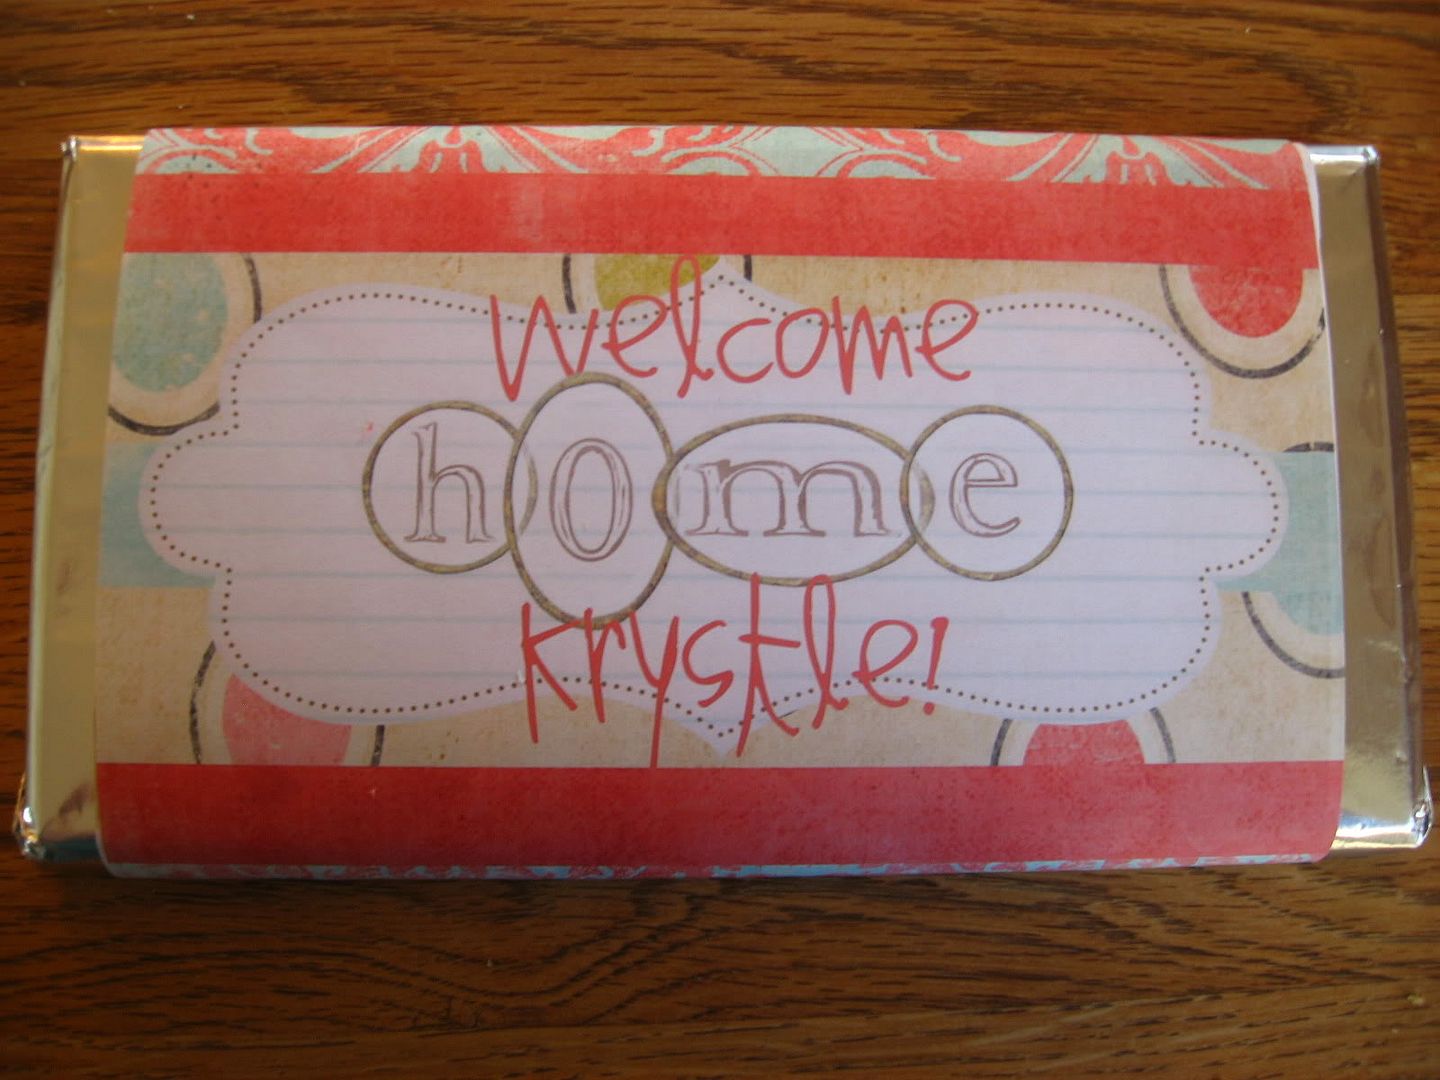
The one below is one that I made for my step sister, Krystle, who just returned from an LDS mission.

Photobucket

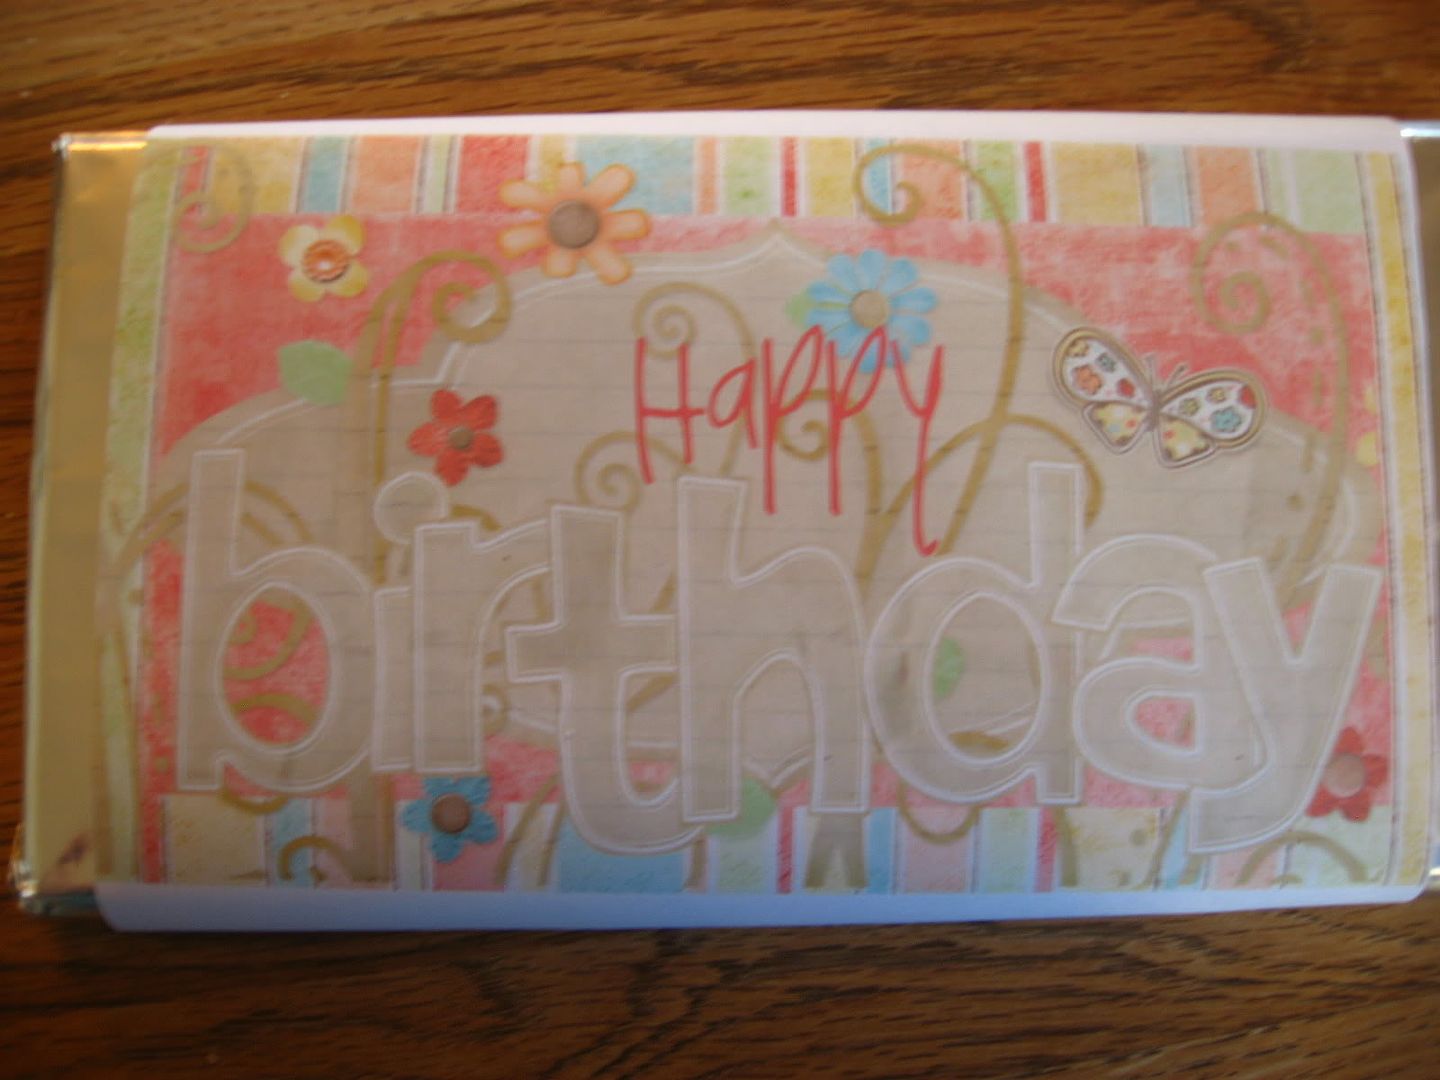
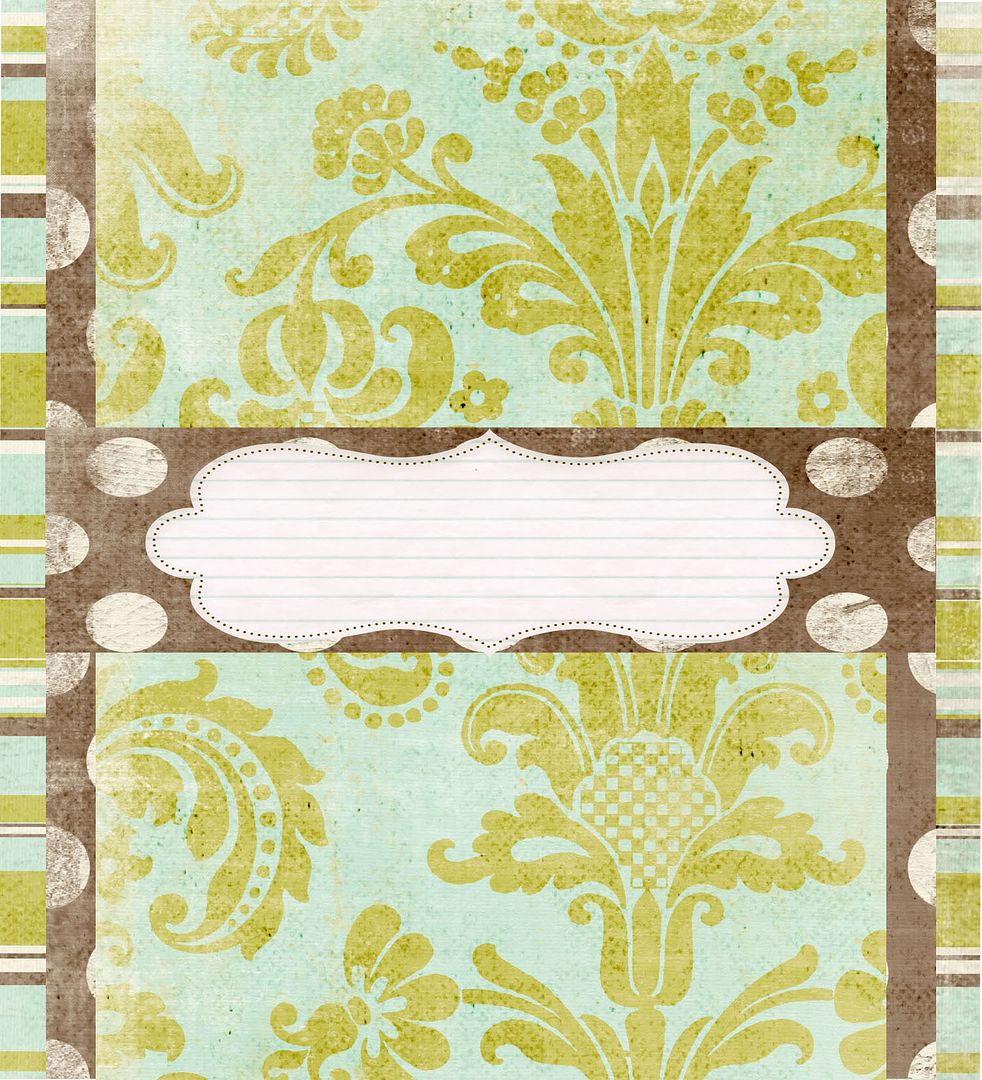
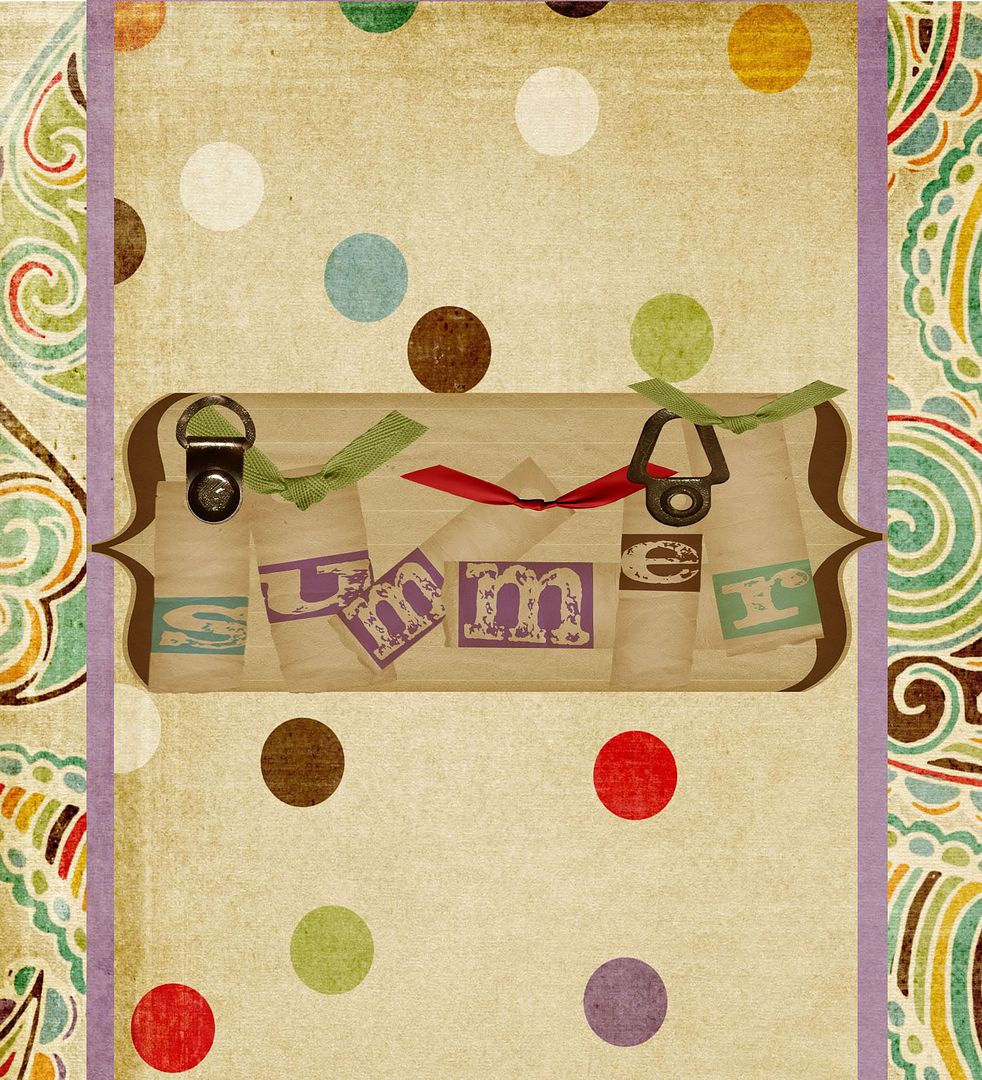
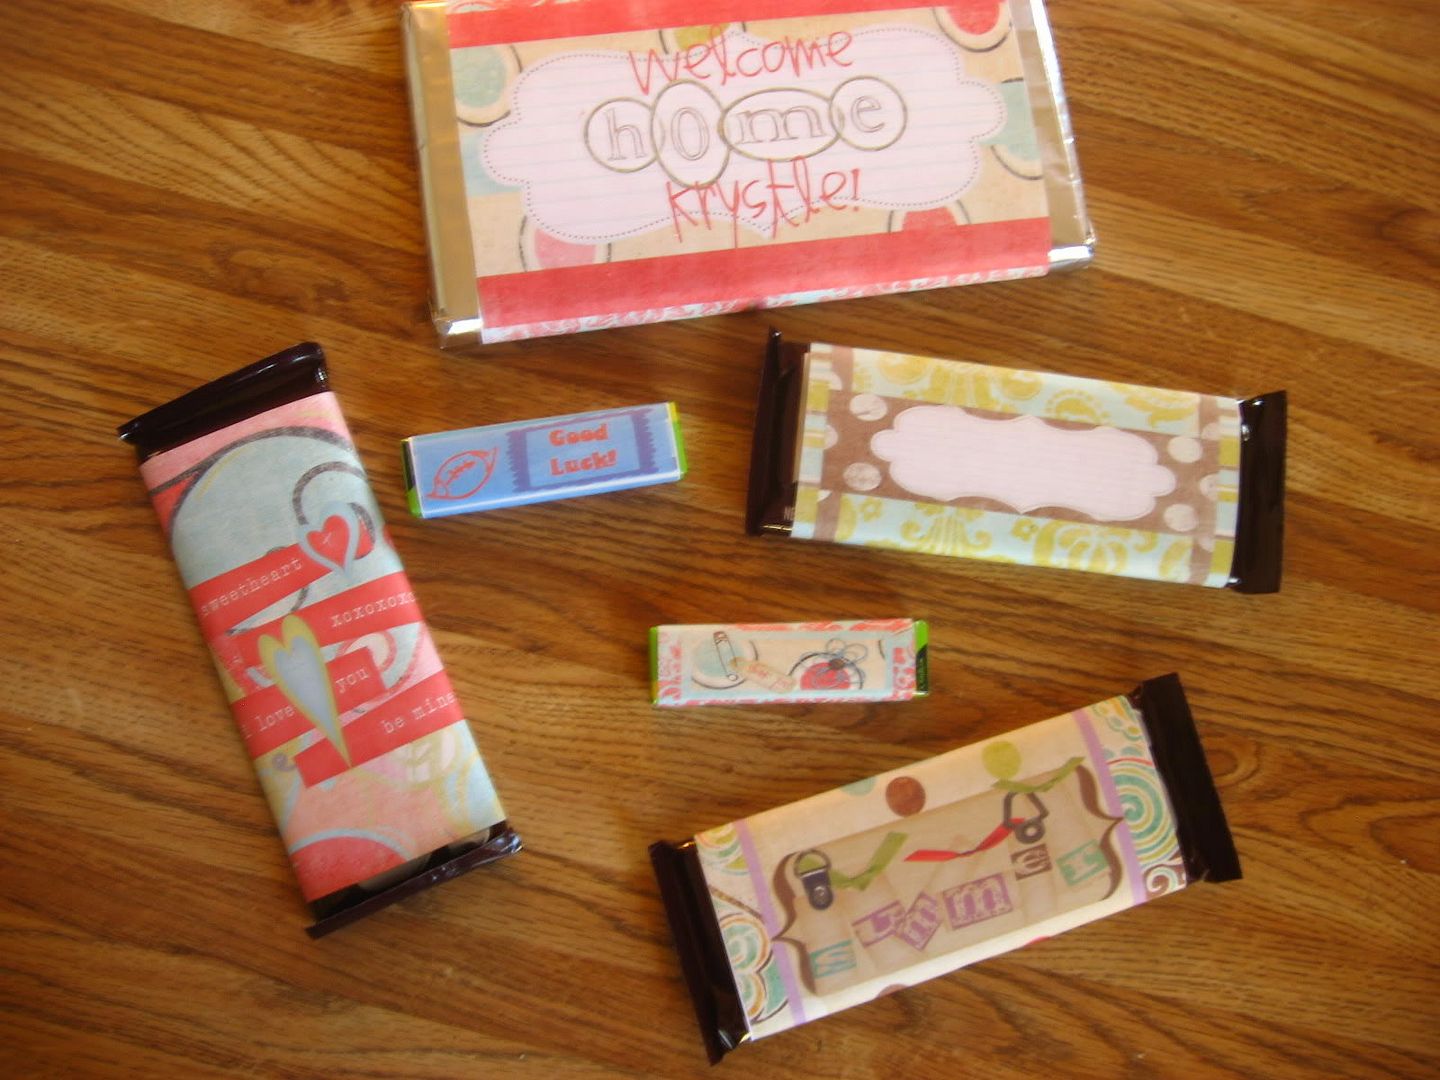
Here are the other ones that I tried: (feel free to print these wrappers if you'd like! Just click on the layout and copy the picture. Save the picture to your computer and then open it in Word or any other program that you print from. Then resize to fit the candy bar size of your choice. Wrap the paper around the candy bar and tape on the back.)

Here are the sizes that the pages need to be printed:
  • Extra Large candy bars need to be sized to be 6 3/4 inches wide by 8 3/4 inches tall.
  • Regular size candy bars are sized 5 inches wide by 5 1/2 inches tall.
  • Small gum packets are 2 3/4 inches wide by 2 3/4 inches tall.

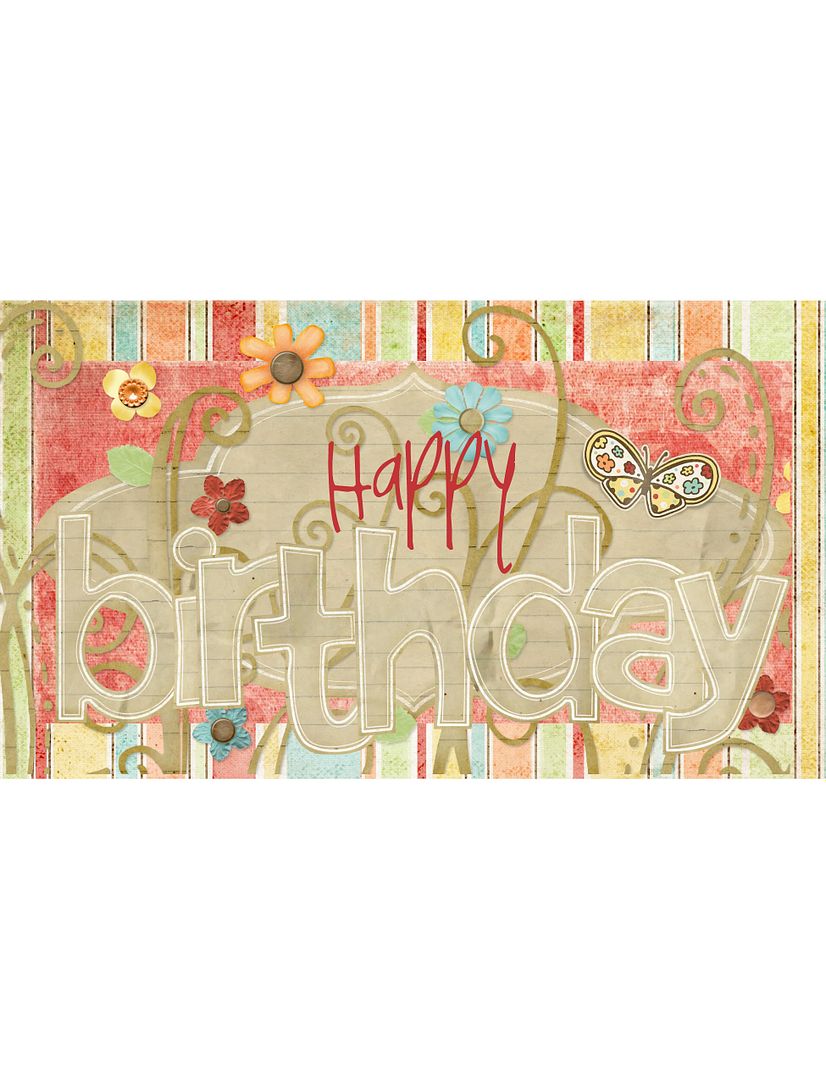
1) Happy Birthday: Printed to fit an extra large Symphony bar.


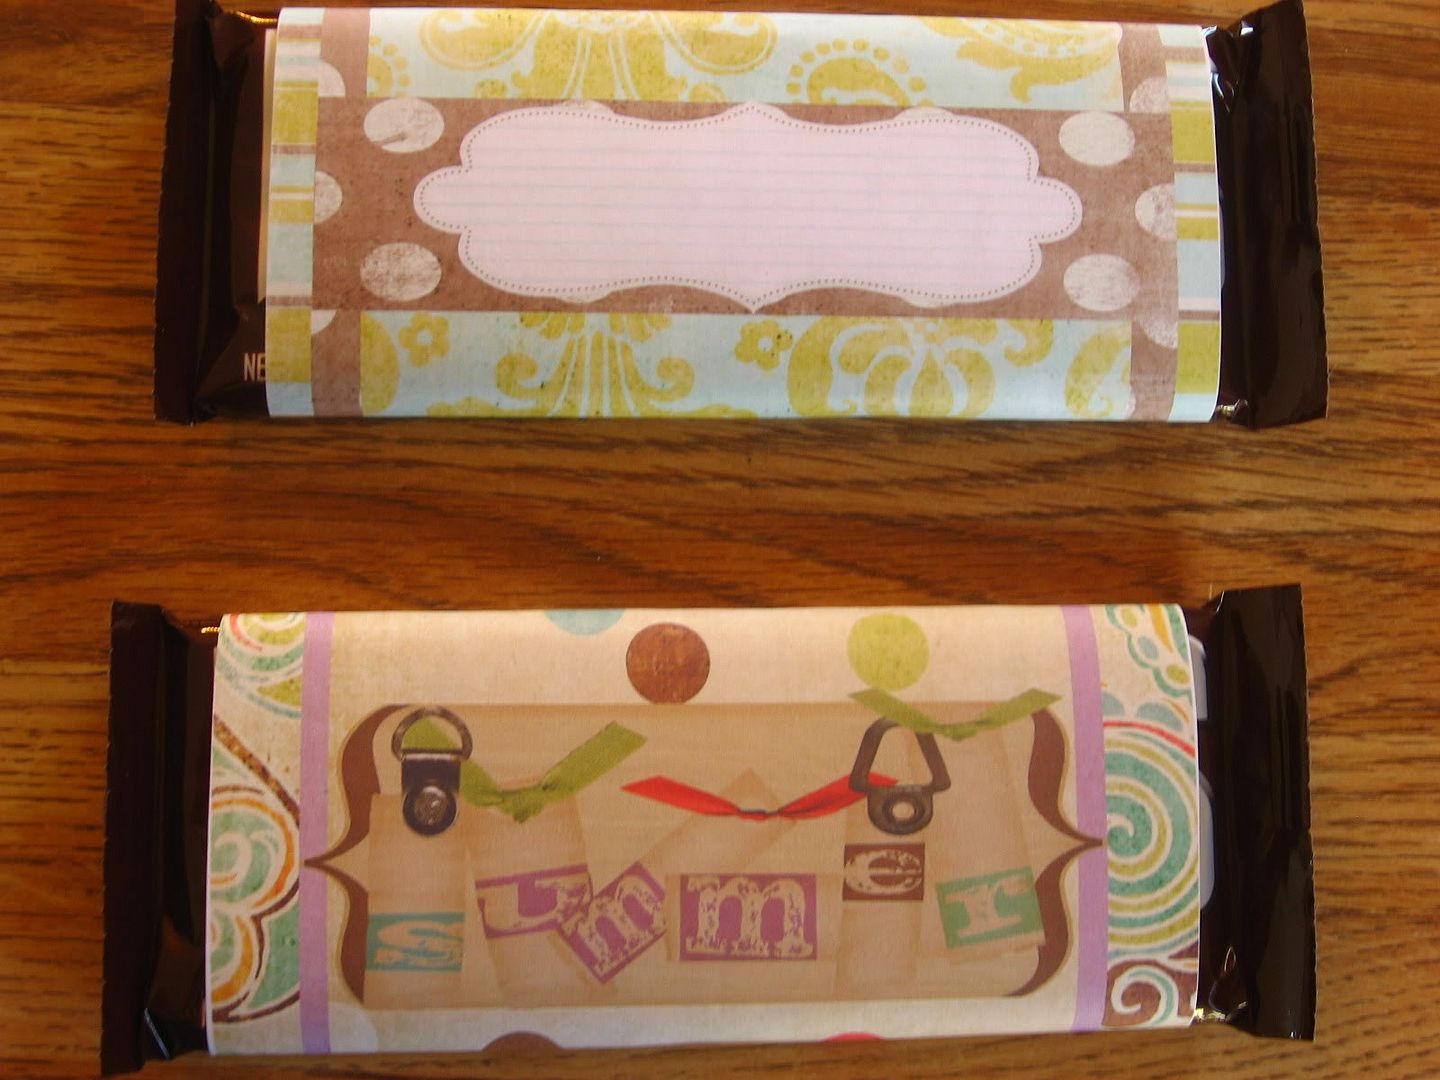
2 and 3) Blank Wrapper and "Summer" Wrapper
Photobucket


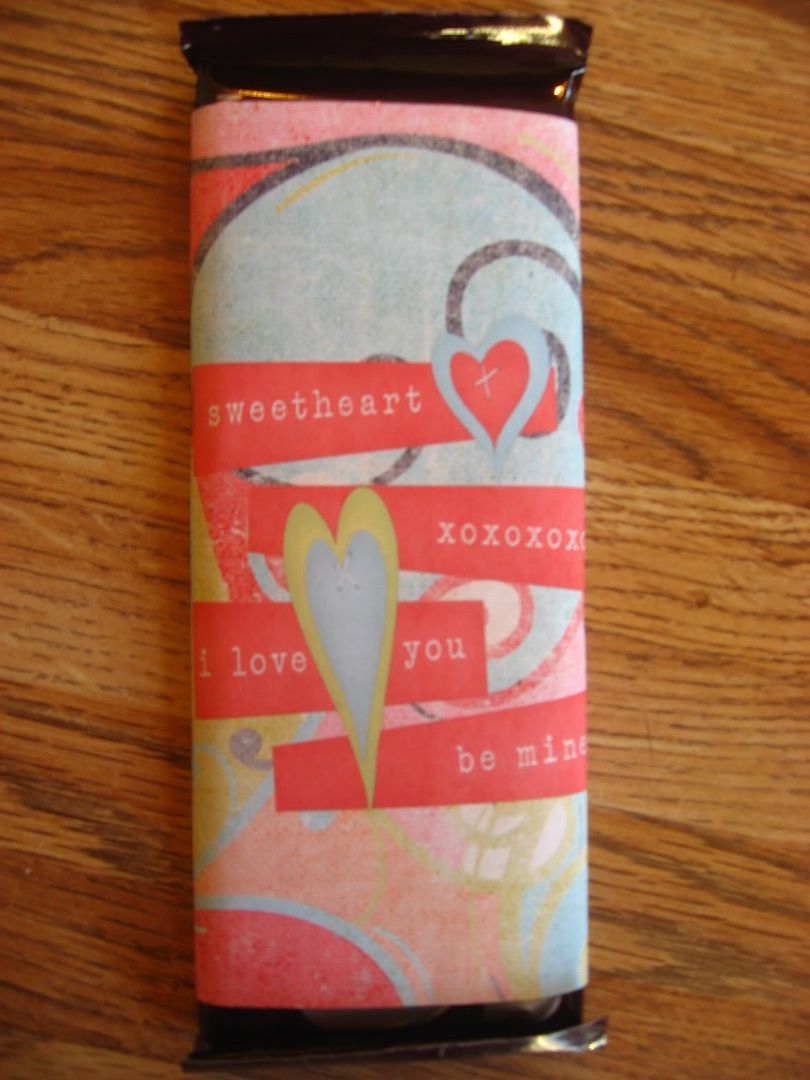
4) Valentines/ I love you: What's better than chocolate?


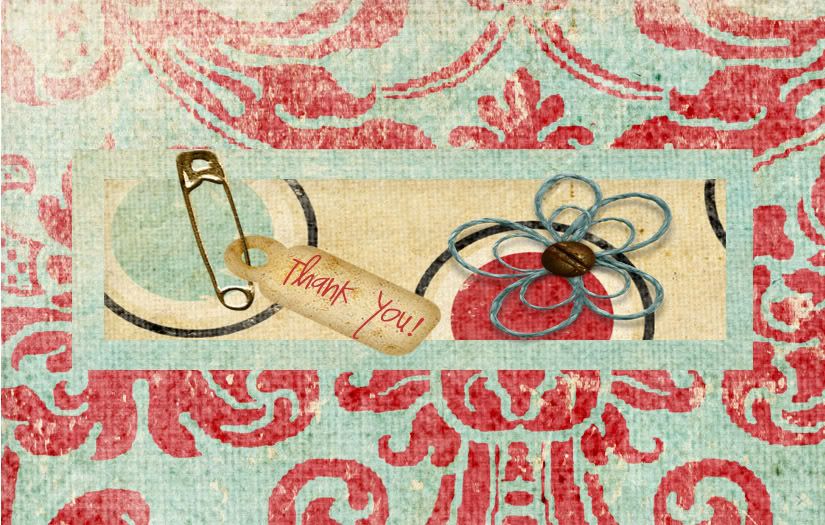
5) Small gum packages: "Good Luck" (for a football team) and "Thank you!"

I know it's a horrible picture, but these are so cute! (so try to imagine great picture quality!--Heidi, Help!!) I think it would be so fun to make these as party favors, reception favors, or anything where you need a treat for a large group.

Photobucket


Photobucket

I hope you enjoy these! They are so much fun to do. If you have an occasion coming up and would like me to design one for you and send you the file, leave me your email address.
Thanks!

Mmmmm....

You know you want this recipe!
Click "BOWTIE FESTIVAL" on the side bar link under "What's Cookin".
You won't regret it.

Tuesday, May 26, 2009

My Blogger Template

I have been getting a lot of people asking how I made my template for my blog, so I thought a little tutorial might be nice.

1) First of all, you need to get a photobucket account if you don't have one already. It's free, so no worries there. This is where I download the free scrap booking paper and then add it to my blog. Go to www.photobucket.com to sign up.

2) Next, you need to decide what type of paper/style you want your blog to have. The best site that I have found for free scrap booking kits is Shabby Princess. Go to www.shabbyprincess.com to view the free kits. Of course, there are other sites, but this has been my favorite.

3) Download the kit of your choice and save it to a file. I have a separate file for the Shabby Princess kits in My Documents, so I always know where they are and I can change my templates at any time.

4) This is where your photobucket account comes in. Go to www.photobucket.com and download the papers that you are planning on using on your blog.

5) Open a new tab on your Internet (so you can easily go between the two sites quickly) and go to your blog site and log in.

6) Go to "Customize" on your blog's dashboard. Then click on "Layout". Then click on "Edit HTML"

7) Then go to "Pick New Template" and choose the Minima template.

8) Where it says:
body {
background:#ffffff
Replace "background:#ffffff" with background-image:url(URL);background-repeat:repeat-xy;);background-repeat:repeat-xy;

Go to photobucket and click on the paper that you want on the border of your blog. (mine is blue with a red damask design.) Once you click on it, there is an option for a "Direct Link". Copy and paste that link into where it says URL.


9) Next, Underneath where it says:
#outer-wrapper {
Copy and paste the following:
background-image:
url(URL);background-repeat:repeat;

Go to Photobucket again and choose the paper that you want in the middle. (Mine is plain blue) It should be something only one color so that people can still read your blog.Click on it and copy the "Direct Link". Highlight URL and paste the "Direct Link" inside the parenthesis.

Change the width to say: 935px;

10)Underneath the #main-wrapper { :
Change it all to say:

#main-wrapper {
width: 635px;
float: left;
margin:15px auto;
padding:0px;
float: right;

11) Underneath #side-bar wrapper { :
Change it to say:

width: 220px;
width: 250px;
margin:15px auto;
padding:0px;
float: left;

12) As far as the Header goes, I just made mine in Photoshop. I'd be happy to help you do that as well. Just let me know.

Keep in mind that I played with this HTML stuff FOREVER. I hope that I got all the information in and that it is easy to understand. Please let me know if something is confusing. I'd be happy to help. If you like the look of someone's blog, you can always right click and go to "view Source" and it will show that blog's HTML codes so you can compare it to yours to see what you want to change.

Leave me a comment with your blog address after you change stuff so that I can take a look!

Good luck!

Sunday, May 24, 2009

Shish-Kabobs

My husband and I have been saying for the past month how much we both wanted to make shish-ka-bobs for dinner. When the Kraft food and family magazine (subscribe here!) came in the mail this week, I was inspired! They have three delicious ideas to try the next time you want to grill kabobs:

Some useful tips for grilling kabobs:

  • Make sure to soak your wooden kabob skewers in water for at least 20 minutes (longer is better) before grilling to avoid the sticks breaking and burning over the heat. I put mine in a 9x13 baking dish to soak so that they could all soak at the same time.
  • While it is appealing to have a variety of meat and vegetables on one skewer, keep in mind that different meats and vegetables all have different cooking times. One thing that we tried was having all of the one vegetable on the same skewer and all of the meat on another. This made it so that our vegetables weren't burned and our meat wasn't over or under-cooked.
  • Don't stick the meat so close together on the skewer. Leave a little bit of space in between each piece so that the meat can be cooked evenly.
  • Marinading is always best! This prevents the meat from being too dry. McCormick (our favorite is Garlic, Herb and Wine) does some great powder marinade mixes that just require you to add water and vinegar to the mix. We placed the meat in a gallon size ziplock bag along with the marinade and kept them in the refridgerator for at least 30 minutes.

Here's what we put on our skewers: (pictures to come soon!)

  • Chicken (my favorite was marinaded in teriyaki sauce)
  • Stew meat
  • Red and Green bell peppers
  • Red and Yellow onions
  • Mushrooms
  • Pineapple (MY FAVORITE!!)

What I WILL try next time:

  • Meatballs
  • Small red potatoes
  • Possibly some other types of fruit (peaches?!)
  • Cherry Tomatoes

My husband put the leftover kabobs in a large ziplock bag and took them to work for lunch the next day. He thought everything was SO much better the second time. All those flavors marinading together overnight. Mmmm. Unfortunately, he ate ALL of the leftovers, so I didn't get to try the next day goodness. Dang.


Photobucket

We do have some leftover pineapple, and I was thinking it would be fun to make fruit kabobs for breakfast. Place some bananas, strawberries, and pineapple (maybe some mandarin oranges, etc.) on a skewer and pour a glaze on top.

Here's a good glaze to try:

1 c. sugar

1 c. orange juice

4 tbsp. lemon juice

1 tsp. grated orange rind

Dash salt

I'll let you know how that recipe turns out!

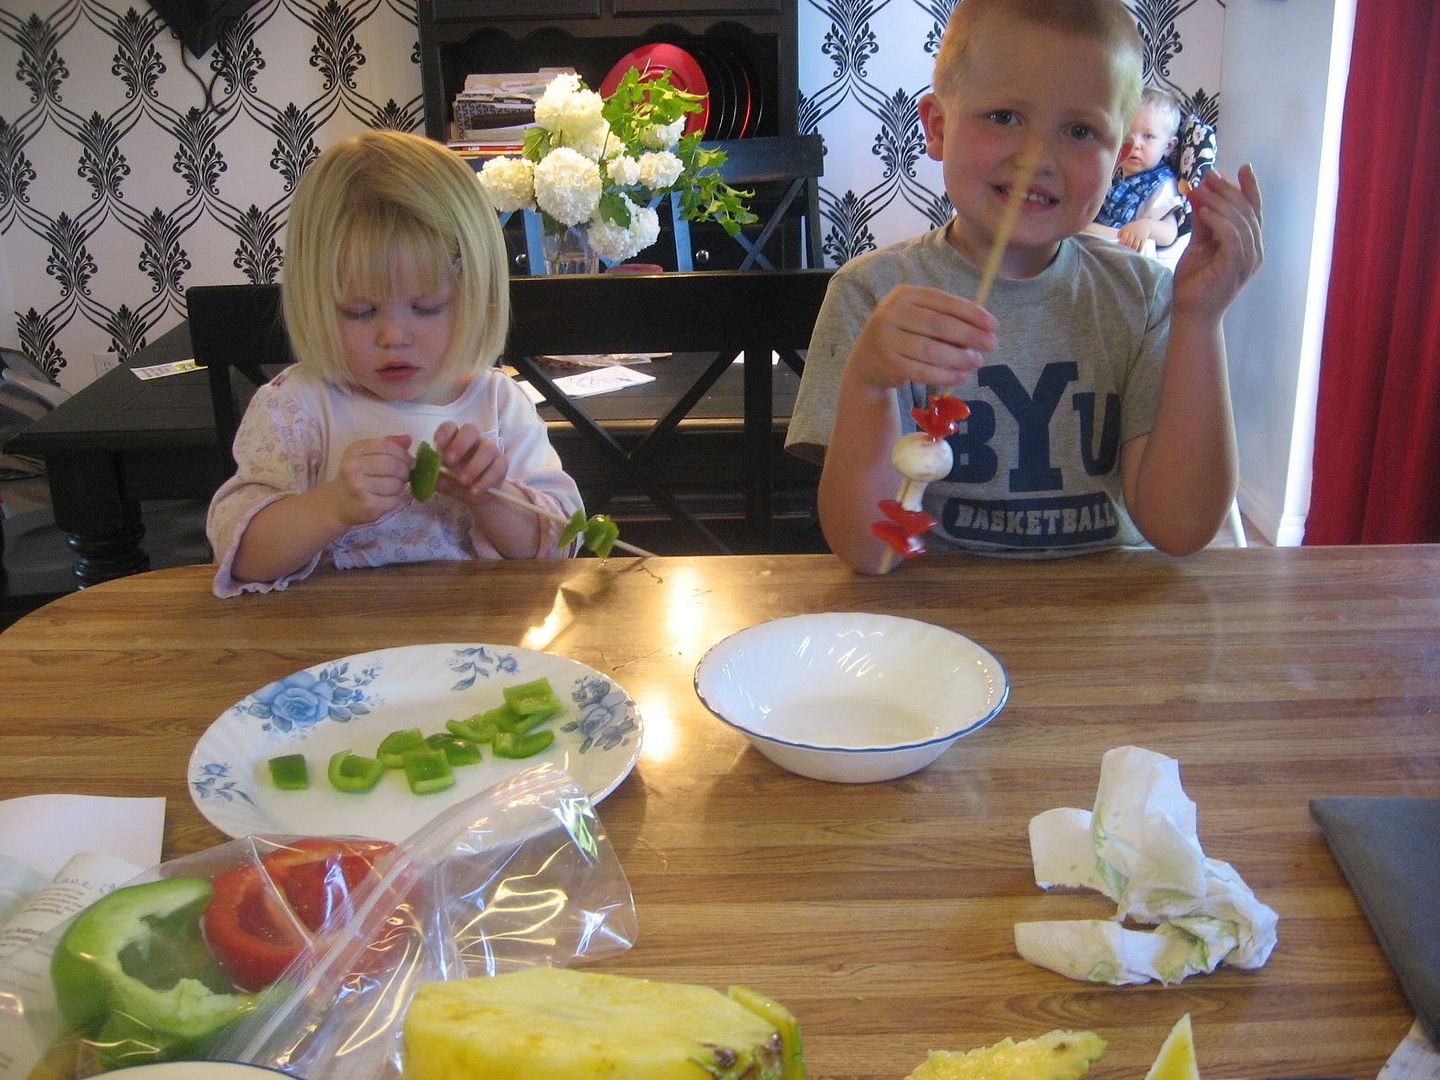
Here are my kids putting their favorite foods on to the skewers.
Photobucket

Happy Kabob Grilling! And have a GREAT Memorial Day!

Saturday, May 23, 2009

Easy, Inexpensive Teacher Gift


My five year old graduated from Preschool this past Friday. When I asked him what he wanted to give his teacher, he said he wanted to give her a card that said,
"Well, we had some good times. I'll sure miss this place. But, guess I'm done here!" :)
He's such a funny kid.

We decided to make his teacher something out of a Pringles can.

Here's how you do it:
  • We used the extra large can of Pringles, but this will work with any size.
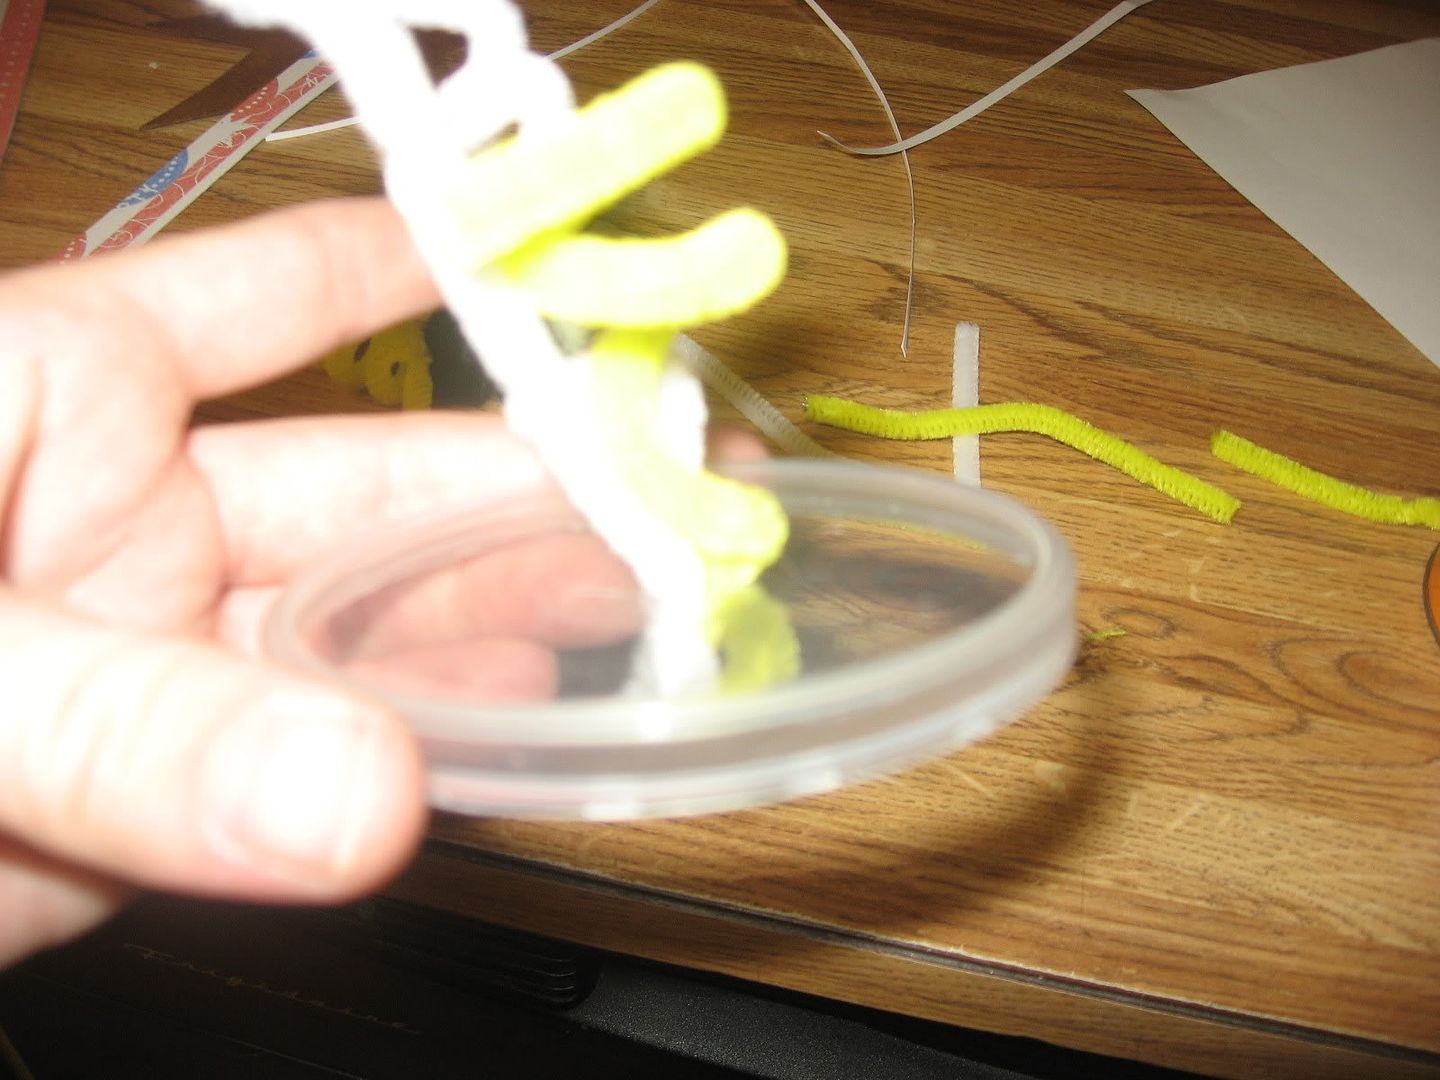
  • Take off the plastic lid (not the sealed portion) and cut a small hole in the center
  • Take pipe cleaners of any color and cut them in half.
  • Curl some of them around your finger, and leave some of them straight
  • One by one, put the pipe cleaners in the hole of the plastic lid
    Photobucket
  • Bend the ends of the pipe cleaners on the underside of the lid so that there are no pointy edges sticking straight out. (they will puncture the sealing of the chips)
  • Place the lid back on the can.
  • Next glue scrap booking card stock around the Pringles can (it took 2 sheets of 8.5x11 paper for me--I also used a glue gun to glue the paper in place.)
  • Then tie raffia around it with the tag attached and add any embellishments you would like. (I added a tin star found at a local craft store, but a wooden star, or sticker would work also.)
There you have it! I think it turned out super cute!

Below are the templates I used to create this. Feel free to print them off and size them to what you need. The tag below was printed at 2x3".

*NOTE: To print, you can click on these pictures to enlarge them, then right click on the picture and save the picture in your documents. Then open WORD or Adobe Photoshop or whatever you use to print things off. Open the document that you saved, click the picture and scale it down to the size you need. Then print!*


I printed two of this sheet on 8.5x11 cardstock, but I ended up cutting off about an inch off of the end, so that the paper would fit around the can.

Super easy!! Let those teachers know we appreciate all of their hard work!

Friday, May 22, 2009

Chore Charts

My kids were so excited when they saw these finished chore charts customized just for them! I have three children ages 5, 2 and newborn; so with the exception of the newborn, the other two can certainly help out around the house. I really have tried about 5 different chore charts and none of them have had the effect that these ones have.

There are three pockets: Daily Chores, Weekly Chores, and Completed. Then, there are 3x2 cards with pictures and writing that describe what the chores are. They fit nicely in the pockets, and for some reason, the kids think it's so fun to move them into the "Done" or "Completed" pocket.
My 2 year olds daily chores are simple: Get dressed, clean up bedroom, brush teeth, take a bath, clean up her own toys around the house, help set the table, water the plants. (Funny thing: I asked her to water the plants yesterday and I caught her outside with her watering can--only she was watering the dandelions!!--I need to show her which flowers, I guess!) Her only weekly chore is to help me in the garden.

My 5 year old has a little more responsibility. His daily chores are: Get dressed, brush teeth, make bed and clean room, clean up toy room and toys around the house, set the table for dinner, unload the dishwasher, and feed the chickens and gather their eggs. His weekly chores are: Dust the living room, vacuum one room (whichever room I need him to), and help me in the garden.

I like that they know their weekly chores in advance and they can finish them at any time during the week, just as long as they finish them! They also know that their "Daily Chores" pocket needs to be empty by the end of the day if they want to play with friends the next day.

Below are the templates for the chore charts. One for a girl and one for a boy. To assemble them, I laminated everything and then cut these two papers right above the striped line. Once it's cut, put the piece with the words on it on top of the other piece and sew (unless you can think of an easier way) the outside corners together. Then, sew on each side of the "Done" pocket, to create 3 pockets. (look at the first three pictures at the top of this post to see what I mean)


The Parenting Breakthrough by Merrilee Browne Boyack is a great resource for helping kids learn how to do chores and be independent. She has even put a list of what a child's responsibilities should be at each age. I highly recommend this!
Feel free to copy either of the chore charts. I truly feel like children need to feel that they have responsibilities that they are capable of completing by themselves. It fosters self esteem and helps them learn to be responsible. I want to raise confident, responsible children who are well adjusted and not afraid of hard work. Almost daily, my son asks, "Why do I have to do this?" and I answer, "Because you're part of a family, and a family works together." I hope he'll thank me one day!
Thursday, May 21, 2009

How I Plot my Garden

Perhaps one of my fondest childhood memories was having a garden. I loved the miracle of planting a tiny seed and watching it grow. It was amazing to me that from a tiny seed, you could feed a family.

When we bought this house, I was thrilled that there was a garden area in the corner! The very next spring I started planting. I planted pumpkins, peas, carrots and onions. I made cute little garden markers and laminated them and was so excited to see my garden flourish. It didn't. So, I tried again the next year, a little hap heartedly I might add, (I was still crushed from my first year's failure) with still no luck. Then a neighbor told me that his brother had great results using the Square Foot Gardening Method by Mel Bartholomew. (Here is the book)This is such a great book! Especially for beginning gardeners. The book totally spells it out for you; from how big to make your garden, to how to plot it, what to plant, and even what to put into your soil to make your plants grow to their potential. Last year, I had my first successful garden!

There are many reasons why I love to garden, but one of the main reasons is that it is hard work that requires the whole family to help out. I can see why my parents chose to do a garden. It taught us to work hard, work together, and the very important lesson of reaping what you sow. These lessons are important for me to teach to my children, and it is the main reason I will keep a garden every year for the rest of my life.

Onto how I plot my garden:
Here is a picture of what my garden looks like today. My husband built me this raised garden bed last year, and this year he divided it into squares for me. He hammered in a nail every 12 inches and then tied twine to each nail that was across from the other. Easy as that!

Here's what's planted:
Here is how I decided where I would plant the vegetables and what I would plant. I just drew a simple grid on lined paper. The Square foot gardening book talks about how many of each vegetable can fit in each square, and that's how I draw it out.

Here was my rough draft from this year.

Here was 2008's plot:

Hayden thought this plotting stuff looked fun, so he made his own! I think this is the cutest thing I've ever seen.

This week, I'm trying to talk my husband into building me two 4x4 raised beds. I think it would be so awesome to have a salsa garden and a strawberry patch. We LOVE to make freezer jam, and fresh strawberries from the garden would just be the sweetest thing. We shall see what this weekend brings...

Tuesday, May 19, 2009

Swiss Chicken Casserole Recipe


Click here for a link to this recipe
or
Print this recipe card

Swedish Meatballs

(notice that I change the recipe slightly)
The link calls for you to cook your meatballs in a skillet. I take the easier route and broil them on a cookie sheet for about 10 minutes. I also add 4 oz. of low fat cream cheese to the sauce and it makes this recipe irresistible!
print this recipe card:

Fried Rice

Printer friendly version
or
print your own cute recipe card below.


Easy Parmesan-Garlic Chicken Recipe

Here's a link to the recipe
or
Print out this recipe card


Garlic Lime Chicken Recipe

Lovin' From the Oven

I have always LOVED cookie dough. It used to be that I never made cookies. Just the dough. And we ate that happily because on the rare occasion I did bake the dough, the cookies turned out flat and everyone that would walk into the kitchen to see them would scrunch up their nose at the sight of them. They were really that gross looking.

Well my friends, the days of cookie dough but no cookies are over. I have perfected the art of chocolate cookies. Just ask my loved ones and they will tell you that they really are perfect! Of course I've had some mentors, one of which is Eric's talented mother. When the Grandkids are over, the chocolate chip cookies HAVE to be made! They just have to be. My husband's brother has also perfected the art, and when people ask him, "How come your cookies are so much better than mine?" He answers, "Yours aren't made with love." (hehe!) And that is true. Love is a very important ingredient that many overlook.

Now, I'm starting this blog off with a bang, because I'm going to let you in on my secrets! Shhh...
OK, I will only give them to you if you will give me all of the credit when you make them.

I use this recipe.
Instead of butter, I use butter flavored Crisco.
Then, I add an extra 1/4 cup of flour and 2 tsp. water
(read on for more secrets) Here's my son cracking the eggs that are fresh from our chicken coop.
(the coop will be explained in a later post)


Here's another secret: I dip the balls of cookie dough in sugar before placing them on the pan. It makes them beautiful. (I only have a point and shoot camera, so pretend that the picture quality is awesome)


Here's where the love comes in: I *lovingly* place 3 extra chocolate chips on top of the dough before I bake them.


And bake them for 2 minutes less than the cooking time says.

That's it folks. They are yummy, yummy! Watch your family devour these in minutes.
I should pretty much be your favorite blog now.